Resources:
Explore our Ad Gallery for examples of this component
In this article, you will learn:
How to configure the Image Compare component
How to configure the Image Compare component
Below you will find a step-by-step process to configure the Image Compare component:
- Choose the ad format and dimensions of the ad unit you wish to add the Image Compare component to. For guidance on building specific formats, check out this article.
- From the left menu, select the components icon
 , Image Compare
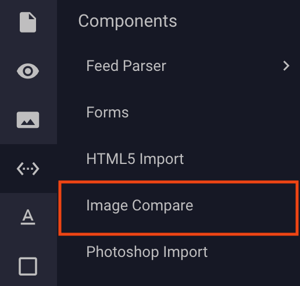
- Once the Image Compare component is added to the canvas, you can begin configuration using the right hand component configuration menu:
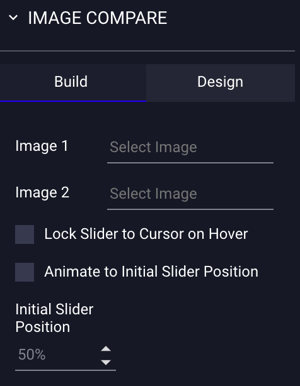
- Click "Select Image" to select the 1st and 2nd image you would like to add to the stage.
- Optionally, select Lock Slider to Cursor on Hover to bind the users pointer to the slider bar when hovering over the ad.
- Optionally, select Animate to Initial Slider Position to generate an animated effect while positioning the slider to its initial position.
- Optionally, set the Initial Slider Position (measured in %) from left to right, or top to bottom of the component.
- Click the Design tab to modify the design of component.
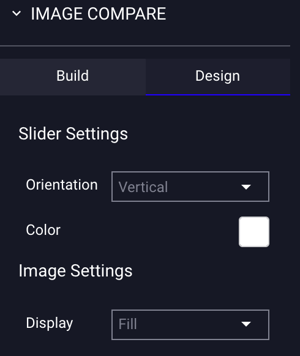
- Optionally, set the orientation of the slider. By default, the slider is oriented vertically.
- Optionally, set the image display. By default, images will fill the component area.
- Optionally, set the slider bar color using the color picker. By default, the slider bar is set to white.