Resources:
Explore our Ad Gallery for examples of this component
In this article, you will learn:
How to Add the VR Viewer Component
How to Configure the VR Viewer Component Properties
Also see more info here:
https://www.sitepoint.com/embedding-virtual-reality-across-the-web-with-vr-views/
https://developers.google.com/vr/concepts/vrview-web
How to Add the VR Viewer Component
- Once you’ve created your ad, click on the Components icon
 on the left side of the builder, and select VR Viewer (at the bottom).
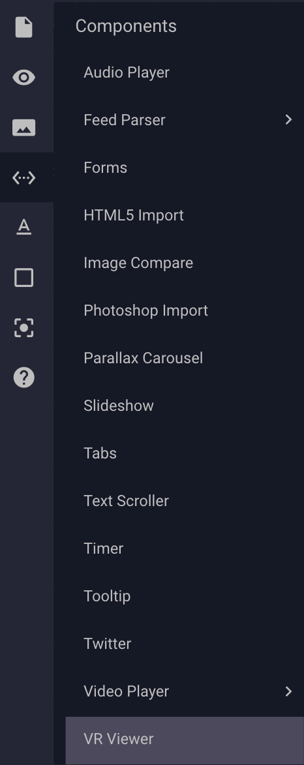
- A placeholder will appear on the ad canvas and can be moved/resized anywhere on the canvas:

How to Configure the VR Viewer Component Properties
- With the placeholder selected on your canvas, you’ll see the VR Viewer Properties appear to the right of the builder:
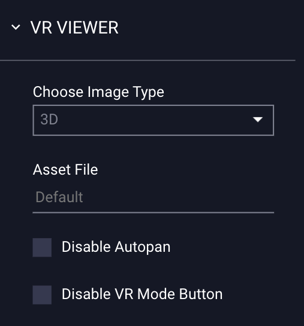
- Choose Image Type – Choose 3D or 2D from the dropdown.
- If “2D” is selected, the following fields will show for selection:
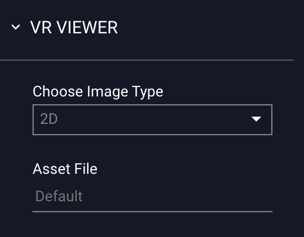
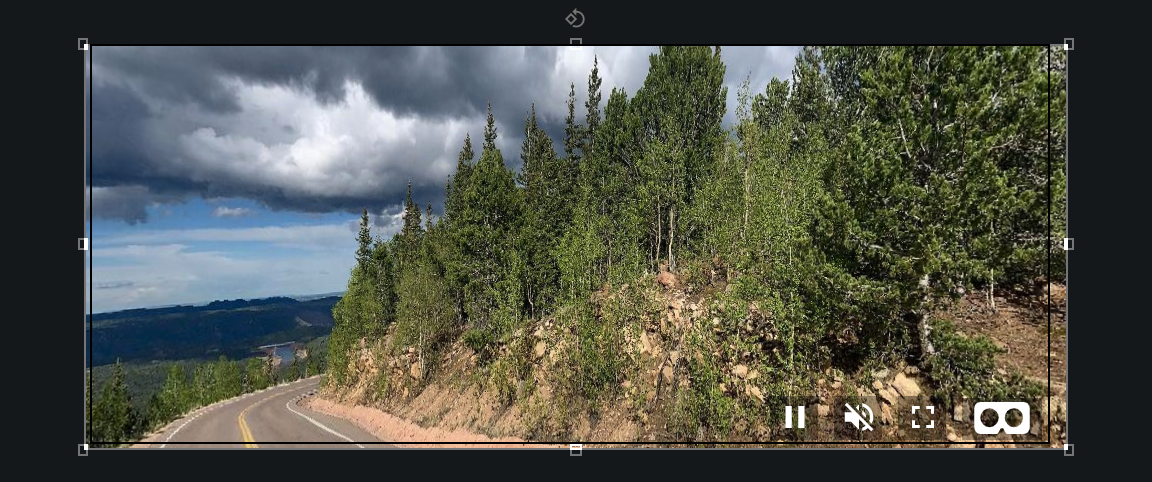
- Asset File – click in this field to upload your panoramic image or video file (Image/Video will show in the VR Viewer Placeholder and will automatically Autopan when previewed).
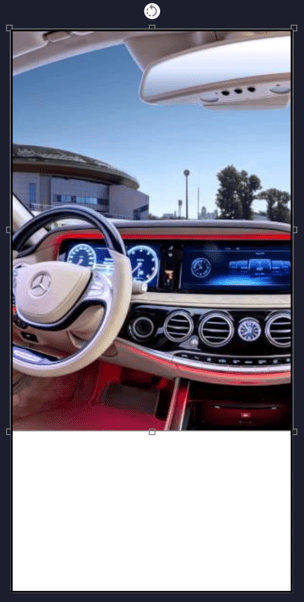
- Once the asset is loaded, it will show in the placeholder (you can resize, etc.):
- Disable Autopan – (deselected by default) selecting this will keep the initial image loaded, and the user can manually click and drag the panoramic image/video to view.
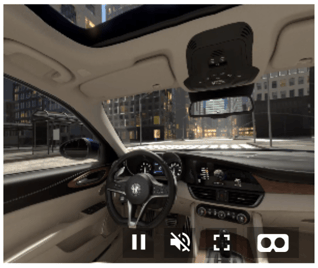
- Disable VR Mode Button – (deselected by default) – if de-selected, and you have uploaded a video file, a viewfinder icon will show (next to the full screen icon) on mobile ads, which will disable the VR mode:
- Full Screen icon – Click the eyeball tool
 in the left side tools panel to Preview your ad unit. Once in preview, clicking on the bracketed box icon to the right of your mute button will show the video in full screen mode.
 - Pause/Play icon – Once in preview mode, if a video file is used, the pause/play icon will allow users to pause or play the video:
Add any other assets to the ad, Preview, and Save.