Countdown (up) Timer
This article will walk you through adding a Timer (countdown or up) to your ad unit
Resources:
Explore our Ad Gallery for examples of this component
In this article, you will learn:
How to Add the Timer Component
How to Configure the Timer Component Properties
How to Modify the Design of the Timer
How to Add the Timer Component
Below you will find a step-by-step process to configure the Slideshow component
- Choose the ad format and dimensions of the ad unit you wish to add the Image Slideshow component to. For guidance on building specific formats, check out this article.
- From the left menu, select the components icon
, Timer.
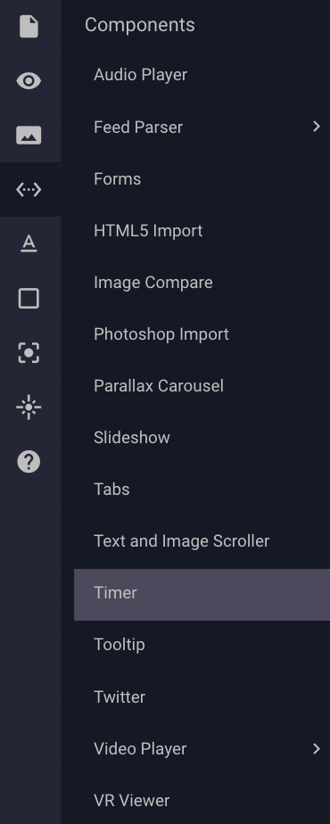
- Once selected, you'll see a Timer set on your ad canvas in the top left corner. By default, the timer will display the days, hours, minutes, and seconds separated by colons and leading with zeroes.

- Move the Timer to the desired location in the ad:

How to Configure the Timer Component Properties
- With the Timer selected within the ad, the Timer Properties will display on the right side of the builder. By default, it is set to the “To Date” format, but this can also be changed to “To Number”.
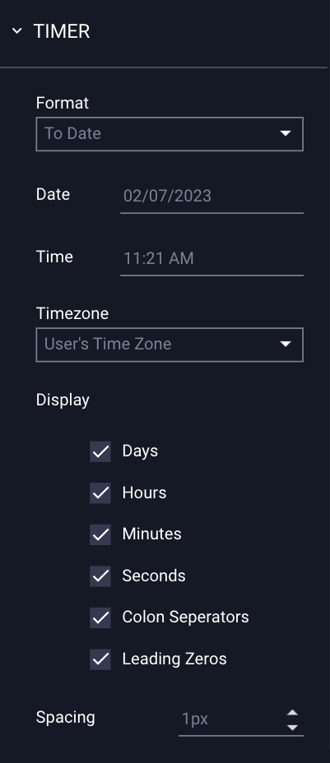
"To Date" Timer
- If you select “To Date” you will be able to edit the date, time and select the timezone as well as change the display (days, hours, minutes, seconds, colon separators, leading zeroes) and spacing.
The configuration options for the "To Date" Timer Component are detailed below:
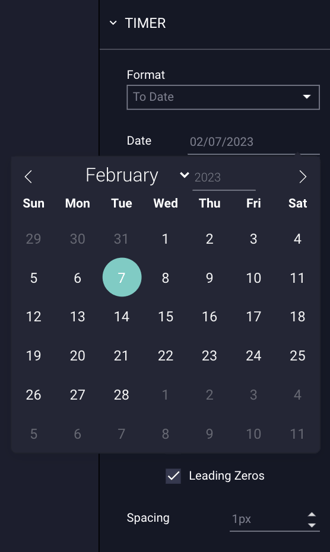
| Date | When you click on this, a calendar will appear for you to select a date. Use the arrows to scroll to the desired month, then click on the day. |
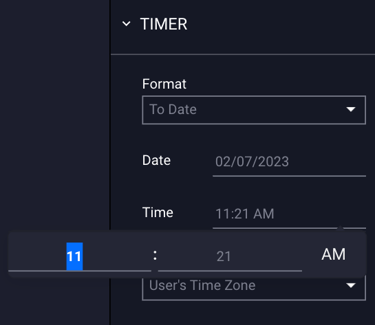
| Time | Click within the field to change the time. A menu with sliders will appear, where you can adjust the time manually. You can also click into the Time field and type out your desired time. Click on the dropdown next to the time to select AM or PM. |
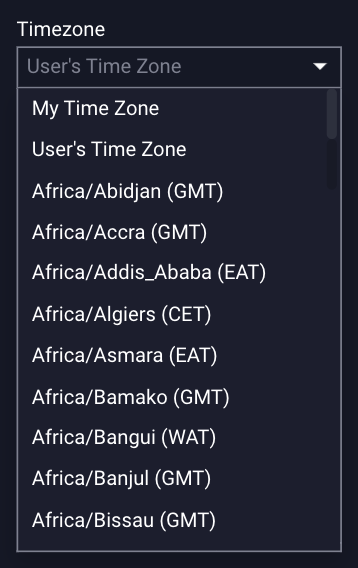
| Timezone |
Click the dropdown next to the field and choose from the list. User’s Time Zone - for the person viewing the ad. My Time Zone – your time zone. Any other time zone - scroll dropdown to view list of all timezones. * See http://www.timeanddate.com/time/map/ for reference. |
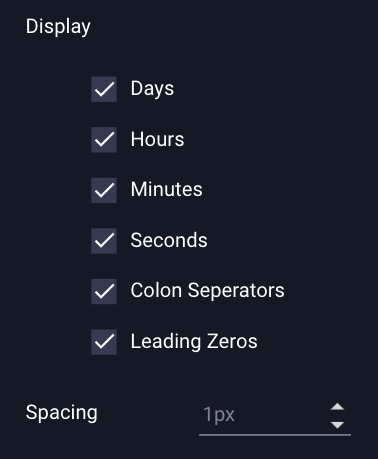
| Display | Click the checkboxes to select/deselect how the timer will display. You have the option to show days, hours, minutes, seconds, the colon separators, and leading zeros. |
| Spacing | Click the arrows up or down within this field to change the spacing of the numbers in the Timer. |
Date
- When you click on this, a calendar will appear for you to select a date. Use the arrows to scroll to the desired month, then click on the day:
Time
- Click within the field to change the time. A menu will appear, where you can enter the time manually. Click the AM/PM button on the right side to adjust.
Timezone
- Click the dropdown next to the field and choose from the list.
Display
- Click the checkboxes to select/deselect how the timer will display.
Before:
After :
(i.e. only the hours, minutes, and colon separators selected)
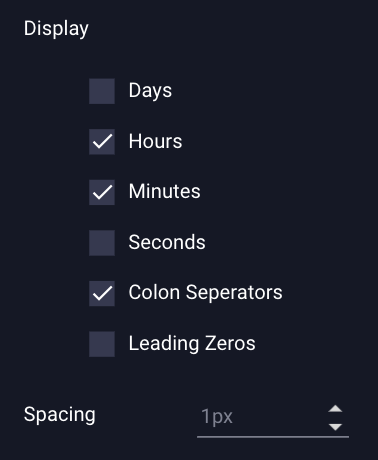
- The Timer will update on screen – see example below showing only hours and minutes separated by a colon:
* Note - Builder will display a timer example. To view actual timer, Preview your ad.
Spacing
- Click the arrows up or down within this field to change the spacing of the numbers in the Timer.

- The Timer will update on screen – see example below showing wider spacing from choosing 22px:

"To Number" Timer
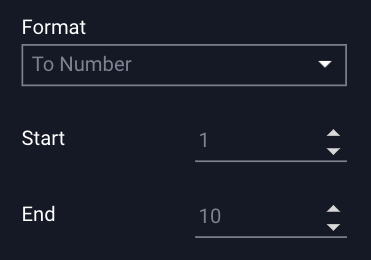
- If you select “To Number” you will be able to edit the number (start/end) and speed.
The configuration options for the "To Number" Timer Component are detailed below:
| Start | Click the arrows next to the "Start" field, or enter a number to determine the starting number of the timer. |
| End | Click the arrows next to the "End" field, or enter a number to determine the ending number of the timer. |
| Speed | Click on the arrows next to the "Speed" field, or enter a number to change the speed (in seconds) of how fast the timer rotates numbers. |
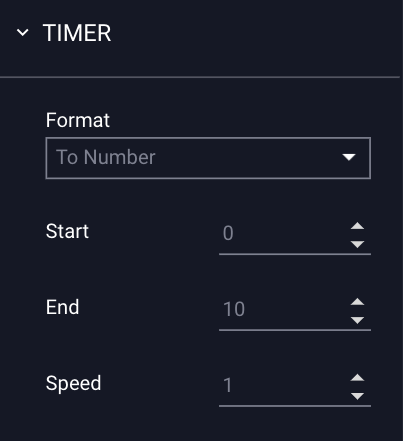
Start/End
- Click on the arrows next to “Start” and “End” to change the numbers of your timer. In this example, we chose a start number of “1” and an end number of “10”.
* For this example, when you preview the ad, the timer will start at “1” and count up to “10”.
Speed
- Click on the arrow to change the speed (in seconds) of how fast the timer rotates numbers. In this example, we chose a speed of 1 second.

How to Modify the Design of the Timer
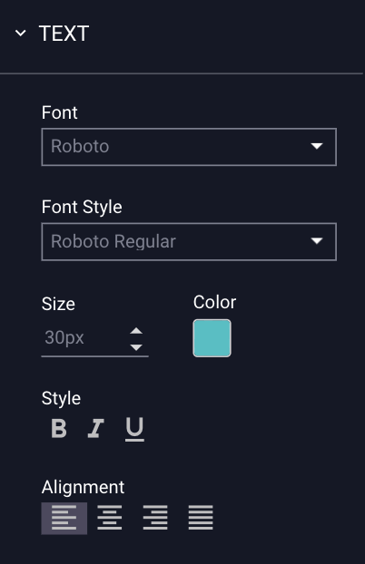
- Just as you can with text, you can modify the design of your timer by navigating to the Text Properties Panel, located below the Timer Properties on the right side of the builder.
- Modify your font, style, size, color, and alignment.
See example below:

- Save and Preview your ad.