Resources:
Explore our Ad Gallery for examples of this feature
In this article, you will learn:
How to Add an Event to an Image Asset
How to Configure the Event Settings
How to Set Hover Events on Images
How to Set Fade Events on Images
How to Set Scale Events on Images
How to Add an Event to an Image Asset
- Choose the ad format and dimensions of the ad unit you wish to add the event to. For guidance on building specific formats, check out this article.
- Open your ad unit within the builder, and ensure that you have uploaded all assets for your ad unit.
* Note - You will need separate image files if changing from one image to another image. - Once your assets have been uploaded to your canvas, select the layer you would like to add an event to.
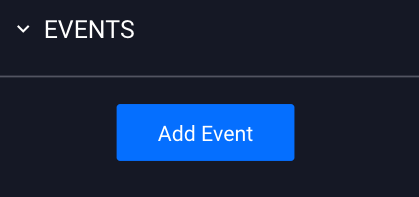
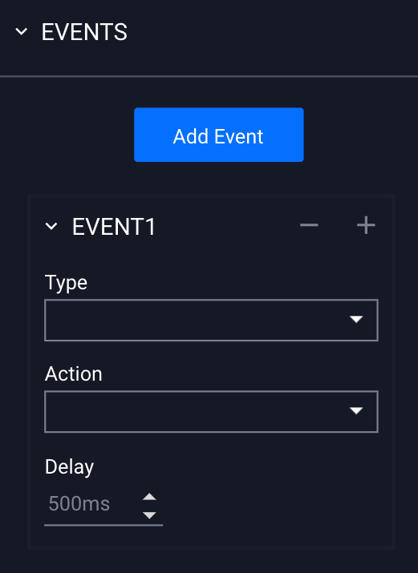
- Within the right side dynamic properties panel, navigate to the "Events" section, and click "Add Event":

- You'll then see the option to choose the event type, action type, and the delay, if applicable (in milliseconds):
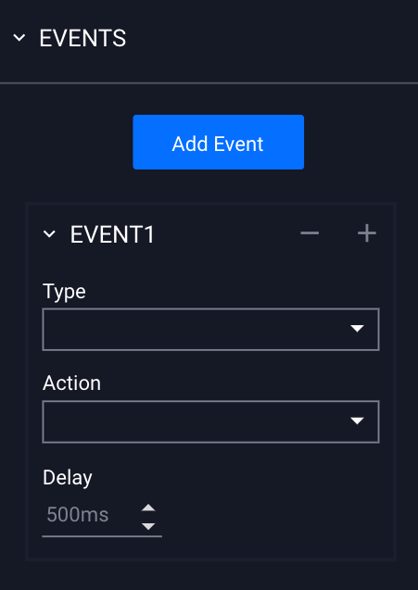
* Note - You can delete events by clicking the minus symbol (-) in the top right of the event.
How to Configure the Event Settings
The configuration options for adding events are explained below:
| Type | Select the type of event "trigger" - Hover Over, Hover Off, or Click. |
| Hover Over | Triggers the event when the user hovers over the image. |
| Hover Off | Triggers the event when the user hovers off the image. |
| Click | Triggers the event when the user clicks on the image |
| Action | Select the event action - Change Image, Fade In, Fade Out. or Scale. |
| Change Image | Changes the selected image asset to another image asset. |
| Fade In | Fades the image from transparent to 100% opacity. |
| Fade Out | Fades the image from 100% opacity to transparent. |
| Scale | Scales the image larger or smaller. |
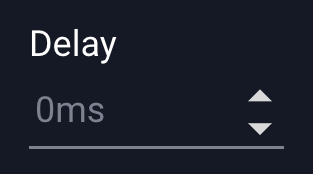
| Delay | The speed (in milliseconds) of the action transition - set to 0 for no delay. |
How to Set Hover Events on Images
- In the example below, we'll be adding a hover state to an image so that the image changes from cookie dough to baked cookies on hover over!
(see video example at the top of the page) - Prepare your assets.
* Note - You will need separate image files if changing from one image to another image. - For this example, we'll be using two images:
"cookies-before.png", and "cookies-after.png". - Click on the Asset icon
 and select or upload all images for your unit.
 - Prepare your unit and organize all other assets on your canvas.
- Add the "before" image to your canvas:

* Note - We'll be adding the hover event to the center image of the cookie dough on the baking sheet (i.e. "cookies-before.png"). - With your asset selected, you'll see the Event Properties displayed in the Properties panel on the bottom right side of the builder:
- Click “Add Event” and you can now configure your first event (Event 1):
- For Type, select "Hover Over", and for Action, select "Change Image":
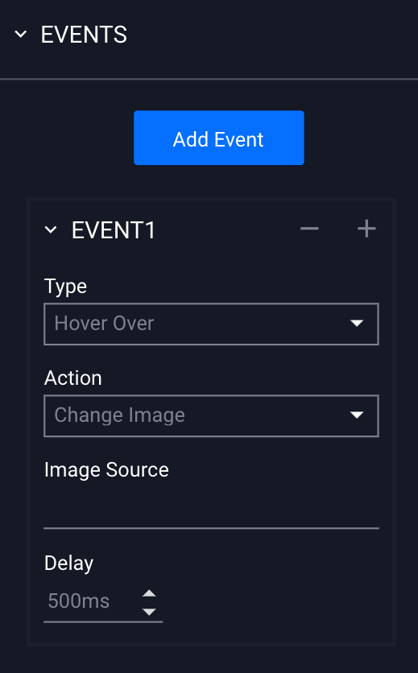
- For "Change Image" event actions, an Image Source field will display. Click into this field and select or upload the asset to display when the user hovers over the image (i.e. “cookies-after.png”):
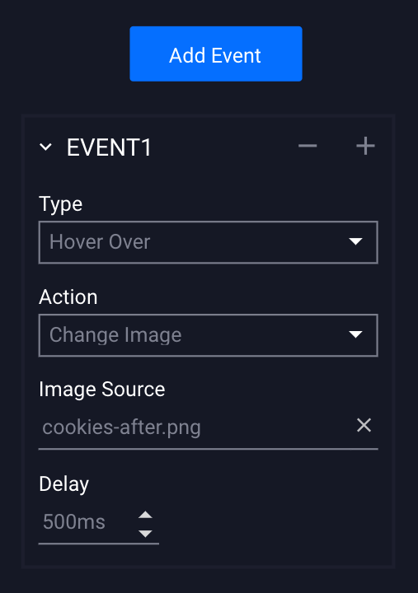
- By default, the delay is set to 500ms. We've changed the Delay to 0ms for this example, as we want the image to change instantly:
- Now we'll add a second Event, to set an image on Hover Off - which will return the image back to the default state on hover off (i.e. "cookies-before.png").
- Click "Add Event" below your Event 1:

- You'll see Event 2 has been added under your first event:
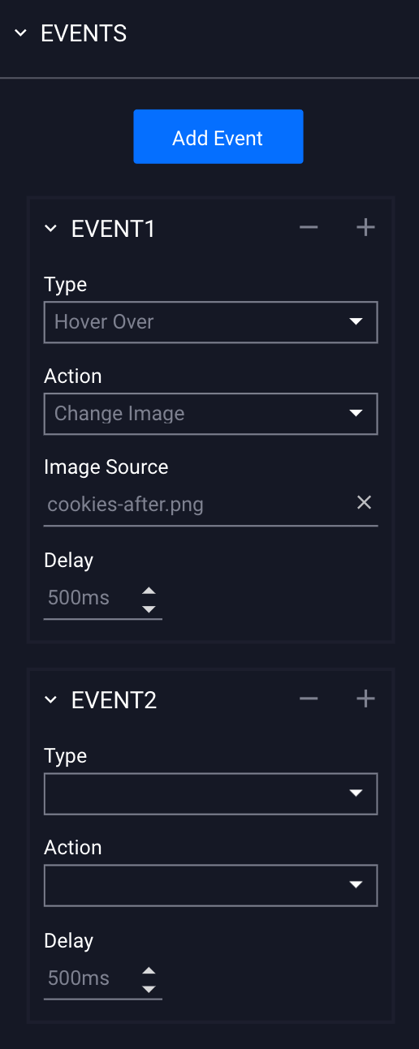
- Now for Event 2, we will choose "Hover Off" for event Type, "Change Image" for the Action, and insert the original image (i.e. "cookies-before.png") into the Image Source field:
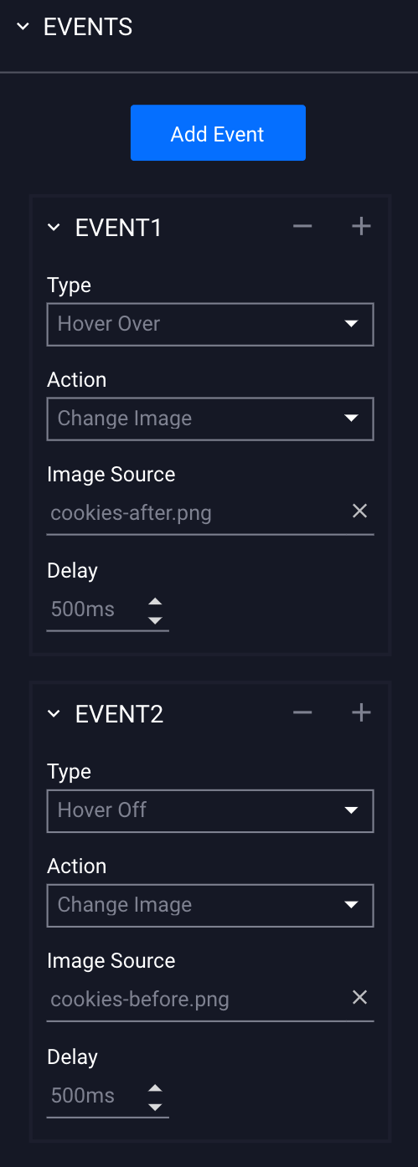
- We've also set the delay on Event 2 to 0ms, to match the Event 1 delay.
- Save, and click the Preview icon
 to view your ad.
 - Check out the finished unit within our Ad Formats Gallery: Hover to Bake Cookies
How to Set Fade Events on Images
- In the example below, we'll be adding a Fade Event to an image asset. The image will fade in on hover over, and fade out on hover off.
- Add and upload all assets to your canvas.
- Select the image you'd like to add the fade event to, and you'll see the Event Properties displayed in the Properties panel on the bottom right side of the builder:
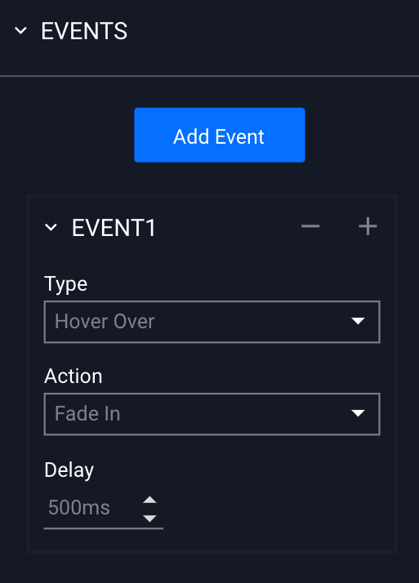
- Click “Add Event”.
- For the event Type, select "Hover Over", and for the Action select "Fade In".
- Set your delay (animation transition time) in milliseconds. This is set to 500ms by default. Set to 0 for no delay.
- Now we'll add a second Event, so the image fades out on Hover Off.
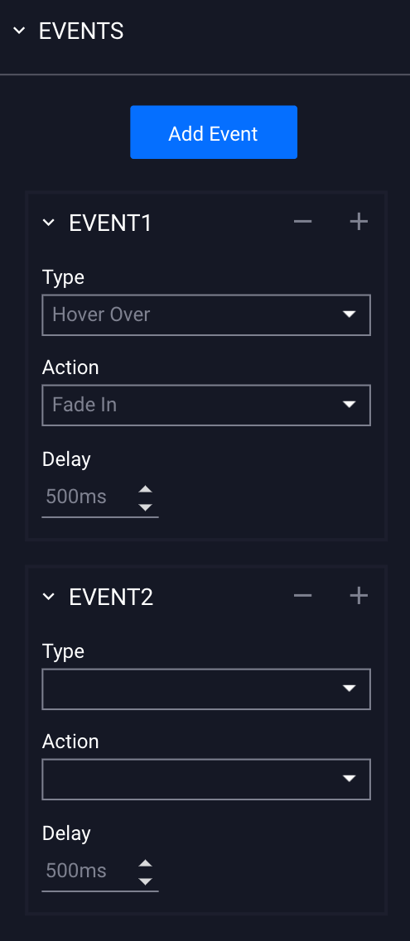
- Click "Add Event" below your Event 1:
- You'll see Event 2 has been added under your first event:
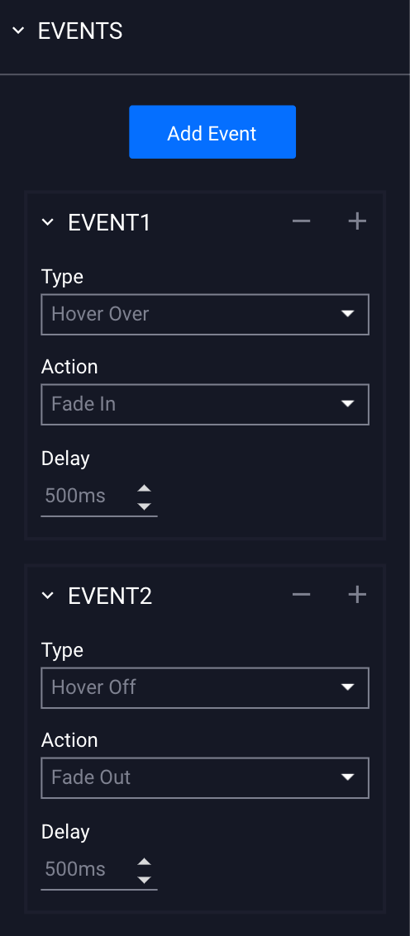
- Now for Event 2, we will choose "Hover Off" for event Type, "Fade Out" for the Action.
- Save, and click the Preview icon to view your ad.
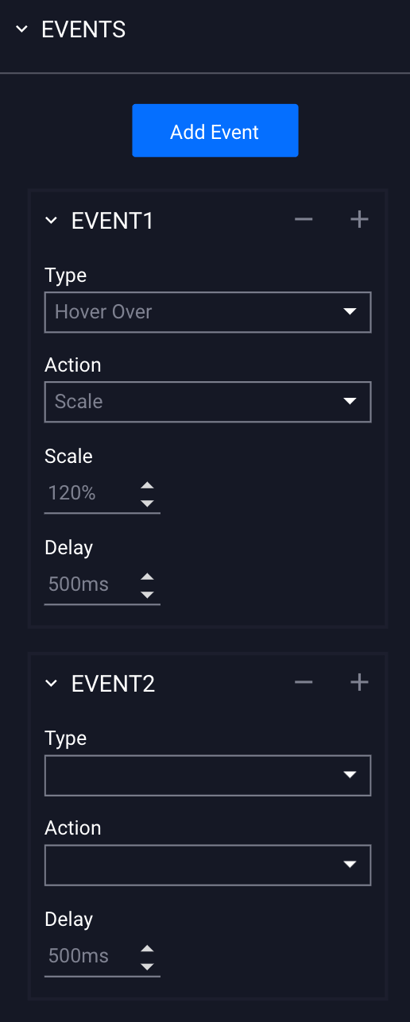
How to Set Scale Events on Images
- In the example below, we'll be adding a Scale Event to an image asset. The image will scale in on hover over, and scale out on hover off.
- Add and upload all assets to your canvas.
- Select the image you'd like to add the scale event to, and you'll see the Event Properties displayed in the Properties panel on the bottom right side of the builder:
- Click “Add Event”.
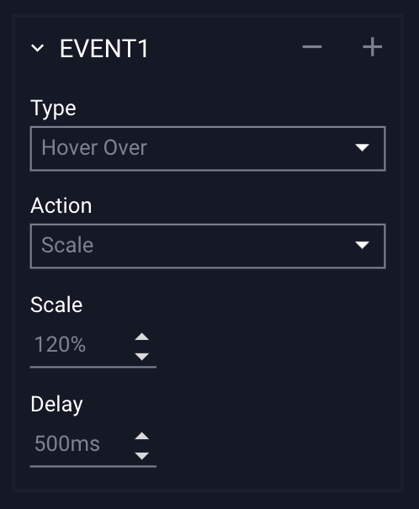
- For the event Type, select "Hover Over", and for the Action select "Scale".
- Set the Scale percentage. By default, it is set to 100%. For this example, we will set it to 120%.
* Note - If you'd like the image to scale smaller on hover over, set the percentage lower than 100%. If you'd like the image to scale larger on hover over, set the percentage above 100%. - Set your delay (animation transition time) in milliseconds. This is set to 500ms by default. Set to 0 for no delay.
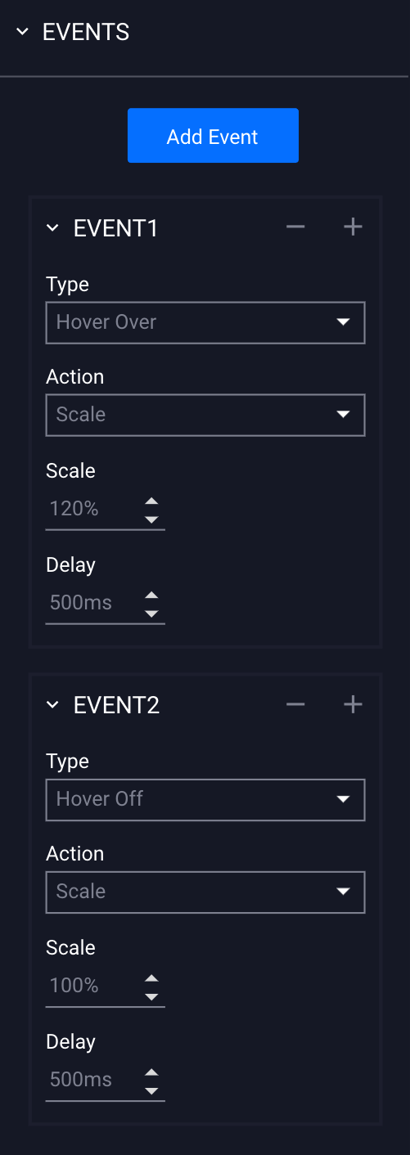
- Now we'll add a second Event, so the image scales back out on Hover Off.
- Click "Add Event" above your Event 1:
- You'll see Event 2 has been added under your first event:
- Now for Event 2, we will choose "Hover Off" for event Type, "Scale" for the Action.
- We'll then set the scale to 100% (default) to ensure the image scales back out to its' original size on hover off:
- Save, and click the Preview icon to view your ad.