In this article, you will learn:
What Assets are Supported in Adventive?
How to Upload Assets to the Asset Page
How to Upload Assets to the Asset Manager (Inside Rich Media Ad Builder)
How to Add Assets to the Builder Stage
How to Search for Stock Images and Add Them to the Stage
What Assets are Supported in Adventive?
Adventive supports a number of image file formats, video formats and a limited number of downloadable file formats. Below is a comprehensive list of all files supported by the platform:
Image Formats
| .gif | Graphics Interchange Format |
| .jpg (.jpeg) | Joint Photographic Experts Group |
| .png | Portable Network Graphics |
| .svg | Scalable Vector Graphics |
Video Formats
| .avi | Audio Video Interleave |
| .flv | Flash Video |
| .mov | QuickTime |
| .mp4 | QuickTime extension MPEG-4 Part 14 |
| .ogg | Origin Graphics File |
| .webm | Optimized Video File Format |
How to Upload Assets to the Asset Page
Adventive allows the upload of the above assets either directly in Ad Builders' asset manager, or through the Asset tab from the Adventive Dashboard.
To upload assets to the Asset Page:
- Select or create the Advertiser you'd like add assets to. Please see our article Creating, Editing, and Managing Advertiser Settings and Permissions for more information.
- Once the correct Advertiser is selected, navigate to the Adventive Dashboard and click the "Assets" menu on the left side of the page:

- The Asset page will then load, and allow you to create and select folders to organize your assets, and to upload assets for your ads:

- Files can be dragged and dropped from your computer into a selected folder, or uploaded by selecting the source as "My Device":
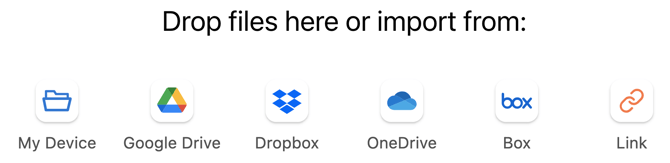
- Our asset page also supports uploading assets through Google Drive, Dropbox, OneDrive, Box, and Links:
- Once you have uploaded your assets, you can then navigate to the Rich Media Builder to begin building ads.
How to Upload Assets to the Asset Manager (Inside Rich Media Ad Builder)
Adventive allows the upload of the above assets either directly in Ad Builders' asset manager, or through the Asset tab from the Adventive Dashboard.
To upload assets within the Rich Media Builders' Asset Manager:
- Navigate into the Rich Media Ad Builder from the Create Ad option in the left side menu in the Dashboard, and create a new ad, or open the ad you'd like to add assets to.
- Once the ad is open, click the
 icon in left-hand toolbar.
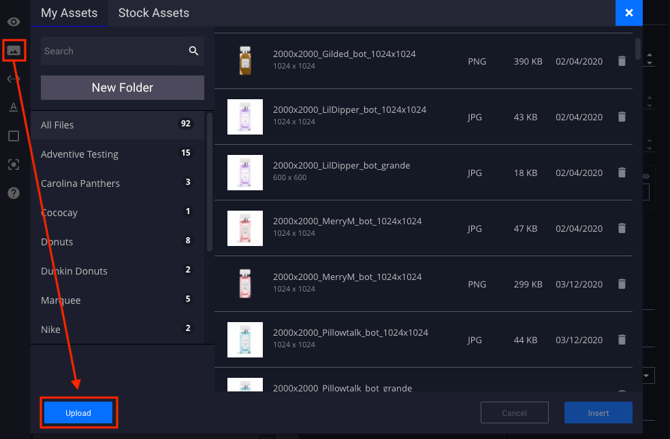
 - Make sure that you have selected the "My Assets" tab at the top of the asset manager modal (this tab will load by default), and that the appropriate folder is also selected to upload your assets to. You can also click the "New Folder" button to create a folder specific for this upload.
- Click the Upload button to open your local computers file explorer.
- Select the files you wish to upload from your local hard drive and click Submit.
- The file upload progress will be displayed in the lower left-hand corner of the asset manager. Files will be displayed in the right-hand list when they become available to insert into the builder.
- Adventive will automatically create thumbnails for all assets uploaded to the asset manager. Please note that it may take a few moment to process as we require all assets to undergo antivirus screening prior to being saved in the platform.
- If assets are uploaded through the Asset Page, you do not need to upload them again within the Builders' Asset Manager, or vise versa. Assets can be uploaded and accessed either through the builder, or through the Assets page in the Dashboard.
How to Add Assets to the Builder Stage
To add assets to the stage:
1. Click the ![]() icon in left-hand toolbar.
icon in left-hand toolbar.
2. The asset manager model will load. Ensure that the "My Assets" tab is selected, and locate (or search) for the asset you would like to add.
3. Double-Click on the asset, or single click multiple assets and click Submit.
How to Search for Stock Images and Add Them to the Stage
To add stock images:-
Click the
icon in left-hand toolbar. -
The asset manager model will load. Click the "Stock Assets" tab at the top of the asset manager modal:
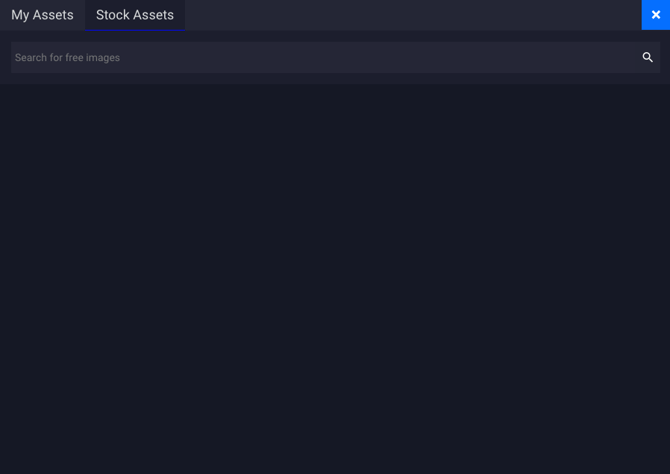
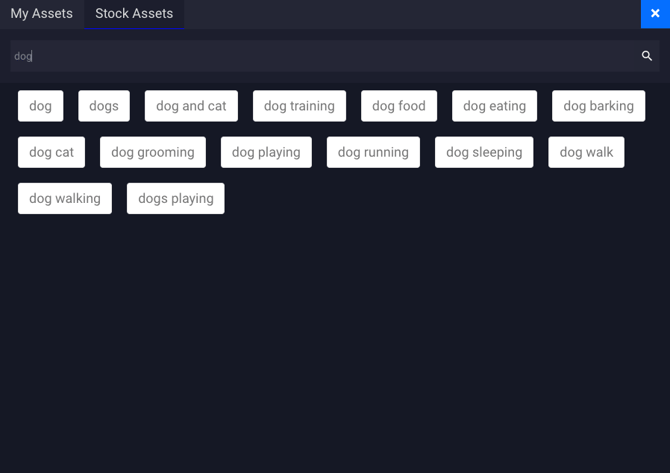
- Enter keywords into the search bar to locate stock images. For this example, we are searching for images of dogs. Once search parameters are entered, the modal will load suggested searches:
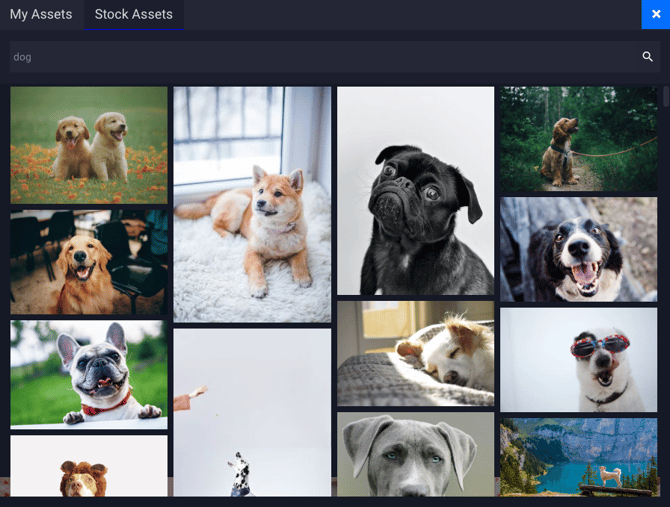
- Select the most relevant suggestion, and the stock image gallery will display:
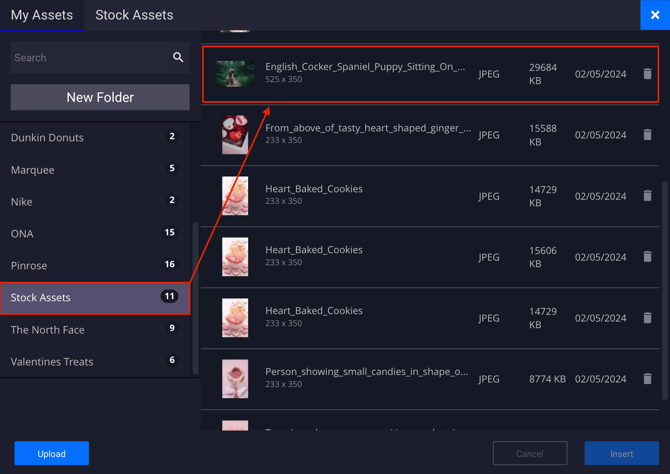
* Note - You have the option to either Save or Import selected images. - When "Save" is selected, the image will be saved to a new asset folder titled "Stock Assets", located with all other asset folders:
- When "Import" is selected, the image will be added to your ad canvas:

* Note - Images that are imported will also automatically be added to the Stock Assets folder. - Scale and reposition the image asset as needed.