In this article, you will learn:
How to Change the Font, Color, and Style of Text
How to Set Text Preferences to Default
How to Add Text to an Ad Unit
- Choose the ad format and dimensions of the ad unit you wish to add Text to. For guidance on building specific formats, check out this article.
- Click the Text icon
 , located within the left side tools panel.
- Click onto your canvas, and a Text Box will appear.

* Note - You can also click and drag once selecting the text tool, to size and position the text box. Select the text tool, and then while clicking and dragging, a transparent rectangle will appear over your canvas, indicating the size and location of the text box:
Once you release the mouse, the text box will appear and allow you to type into the area.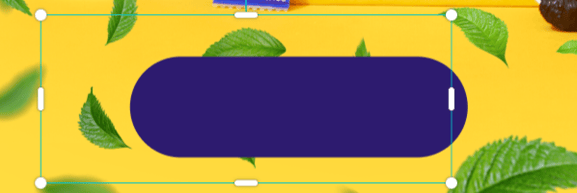
- Click within the box to type out your text.
* Example:
You can move, resize, and rotate the text box, either with your mouse (by clicking and dragging the text box handles) or using the Width/Height, Coordinates, and Rotation options in the General Properties Panel (top right of screen).
The box can also be rotated using the top center handle (highlighted in blue below):
How to Change the Font, Color, and Style of Text
- Ensure that your text box is selected on your canvas, and the Text Properties Panel will appear on the right side of the builder, where you can make edits to the font, font style, size, color, line height, spacing, style, alignment, and add a drop shadow, outer glow, or stroke:

The Text configuration options are explained below:
Text 
This menu is located in the top right corner of the text properties menu and contains two options:
- Set Instances' Properties as Default - When selected, this will set the selected text properties (font, style, and any other setting applied to the text) as the default for the current browser session.
- Reset Default Properties - When selected, the text (for the current browser session) will return to the default text - Roboto, size 22, with default formatting.
* More information on setting the text defaults can be found below.
Font Set the font for your text. Font Style Set the font style for your text, if applicable.
This option is available for Cinzel, Lato, Montserrat, Open Sans, Poppins, Quicksand, Raleway, Red Hat Display, Roboto, Teko, and Ubuntu font selections.
Dynamically Size - Keep Relative Size - When this is selected and the text box is scaled larger or smaller, the font size will adjust proportionally and scale larger or smaller. You will also be given the option to add in a Min text size and Max text size.
- Fit to Max Dimensions - Allows you to set the size of the text based on the size of the text box added to the canvas. The text will auto size to the size of the text box. You will also be given the option to add in a Min text size and Max text size.
Size Set the size for your text. Color Set the color for your text.
* More information on our color picker can be found below.
Line Height Set the line height for your text, to adjust the amount of spacing in between lines of text. Spacing Set the spacing/kerning between characters in your text. Style Set the style of the text - bold, italic, underlined. Alignment Set the alignment/justification of the text:
 Left aligned - Align text left
 Center aligned - Center text.
 Right aligned - Align text right.
 Justify all - Space is added between words so that both edges of each line are aligned with both margins. The last line in the paragraph is aligned left.
 Vertical alignment: Top - Align text to the top of the text box.
 Vertical alignment: Center - Align text to the center of the text box.
 Vertical alignment: Bottom - Align text to the bottom of the text box.
Drop Shadow Add a drop shadow to your text. When selected, you have the option to choose the distance (expressed in px) and the color of the shadow. Outer Glow Add an outer glow to your text. When selected, you have the option to choose the size (expressed in px) and the color of the glow. Stroke Add a stroke to your text. When selected, you have the option to choose the size (expressed in px) and the color of the stroke. - Set Instances' Properties as Default - When selected, this will set the selected text properties (font, style, and any other setting applied to the text) as the default for the current browser session.
-
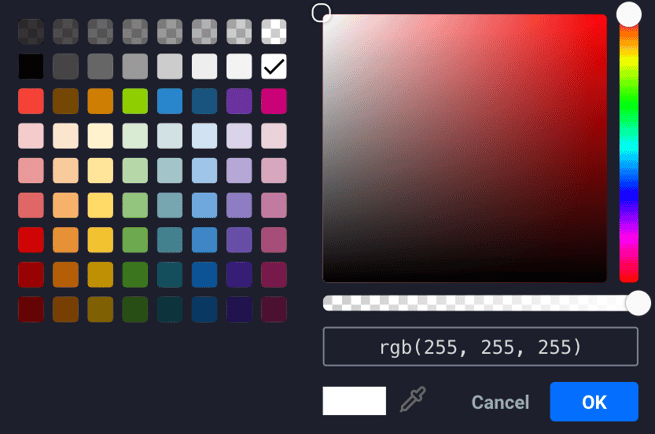
When selecting a text color, you'll open the Color box.
You can select a color from the list of default swatches on the left side of the window, choose a new color in the color square (center) and with the vertical hue selection bar (right side).
You can also enter a Hex Number/RGB Code.
Color transparency can also be adjusted using the selection bar below the color square and hue selection bar.
The window will display your selected color in the rectangle located to the left of eyedropper icon.
You can also use the eyedropper tool to select a color from your canvas, or by selecting it within the color rectangle, located in the bottom center of the color picker window:
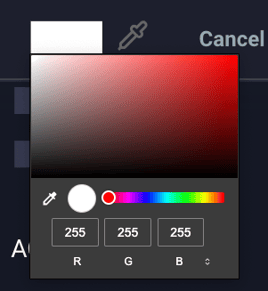
- Once you've selected your color, click "OK".
How to Set Text Preferences to Default
In this section, we'll walk through how to set your text preferences to the default for your current browser session:
- With your text box selected, navigate to the Text properties panel and click the three vertical dots
 , located in the top right corner of the menu:
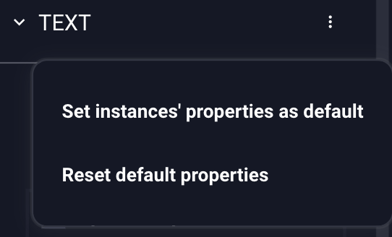
Set Instances' Properties as Default
When selected, this will set selected text properties as the default for the current browser session. This will keep the same selection of font, style, and any other setting applied to the text, for each instance of text added in the builder during the current session. When selected, a green message will appear in the bottom right screen confirming "Text Properties Have Been Set As Default".
Reset Default Properties
When selected, this will reset the default text properties.
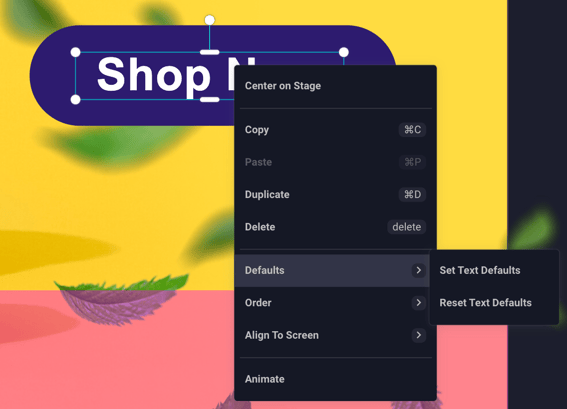
* Note - These settings can also be adjusted by right clicking the text layer and hovering over the "Defaults" option: