Trafficking Ad Tags with Google Ad Manager
This article will walk you through trafficking Adventive ad tags in Google Ad Manager.
- When you’re ready to export your tags, select Export Tags from the Campaign Actions dropdown menu (click the topmost vertical three dots).

* Note - Tags can be exported at the campaign, site, placement, and individual ad level. In the below example, we are exporting at the campaign level.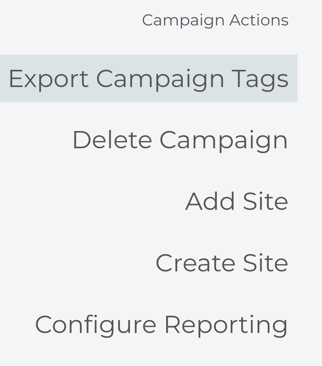
- A new window will appear to then select the appropriate format for the tags that you are exporting. Select Google Ad Manager from the Ad Server dropdown menu. This will ensure that your tags are formatted with the correct macros for trafficking via DFP:
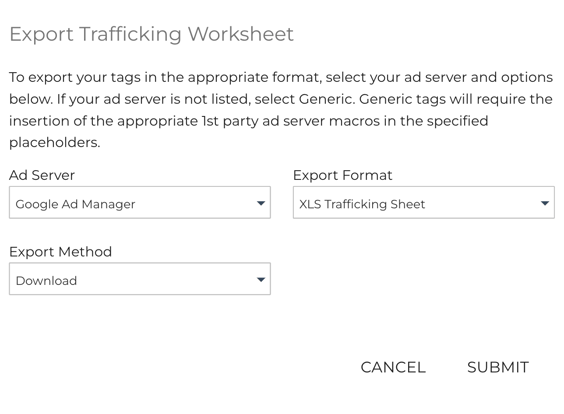
- Once you have selected your preferred Ad Server, select an export format. The tags can be exported as an Excel XLS, CSV, or Text File.
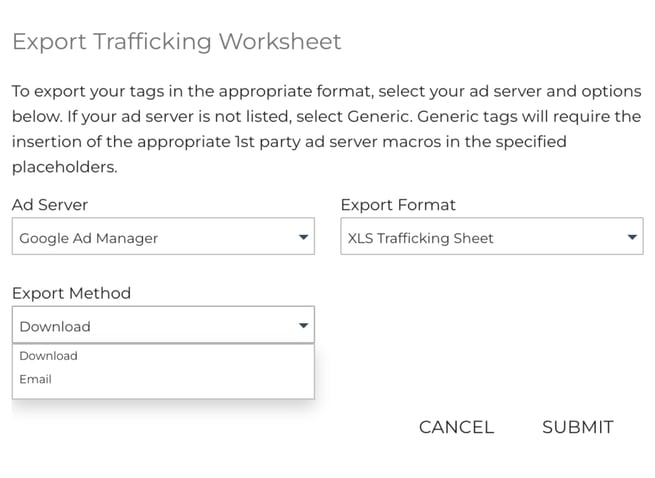
- Once you have selected your Ad Server and Export Format, choose the Export Method - Download or Email. This will determine how the trafficking sheet should be delivered:
- If "Email" is chosen, insert the email address into the "Email To" field. You can enter multiple email addresses, separated by commas:
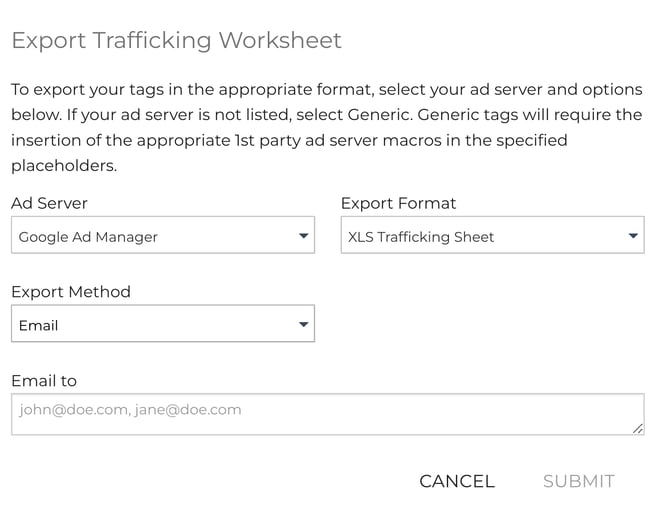
- Click Submit to export your tags. The tag sheet will either be downloaded to your computer, or emailed to the specified recipient(s).
- After you have downloaded your tag sheet, log in to your Google Ad Manager account.
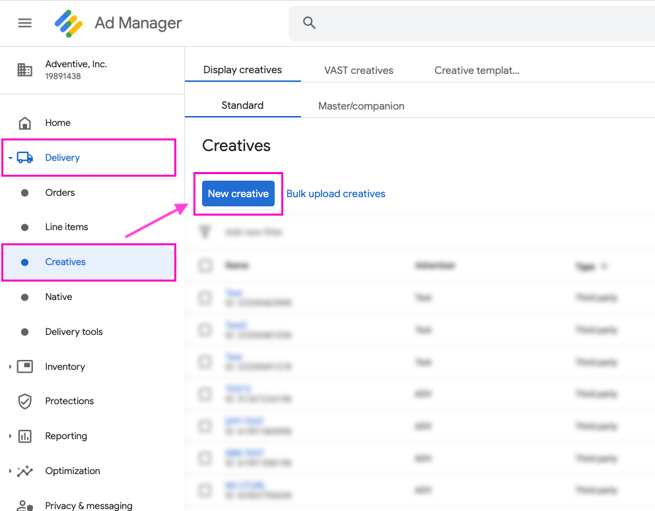
- To add a new creative, click on Delivery -> Creatives -> New Creative, or navigate to the desired Line Item, click the Creative tab, and click the Add Creative Button:
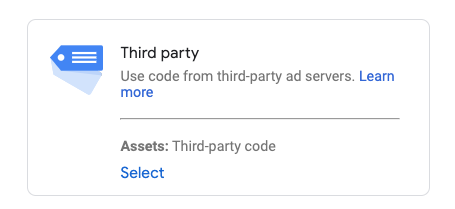
- When prompted to select the creative type, select Third Party:
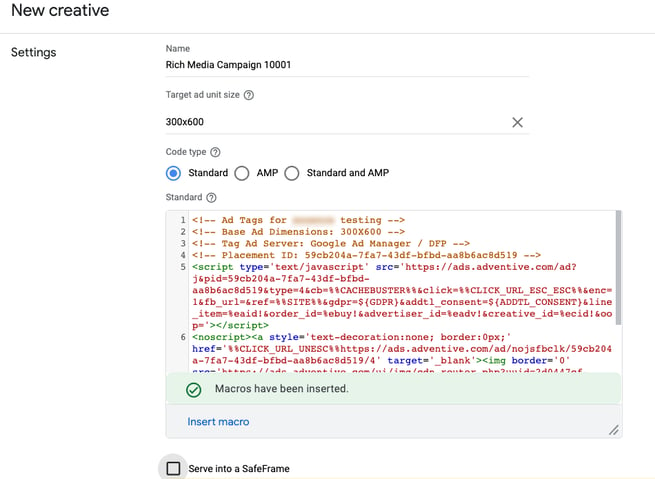
- In the New creative window, enter the creative name, ad dimensions, and insert the embed code you copied/exported from Adventive in the HTML field:
- Click Save.