In this article, you will learn:
How to Import a Photoshop File
Before you import a Photoshop file into your build, here are a few key points to keep in mind:
- PSD files should not exceed 30MB.
- You will need to rasterize smart objects and merge clipping masks/adjustments layers prior to uploading your final PSD file.
- Ensure that the PSD's Image Mode is set to RGB and 8 Bits/Channel.
- The order your layers are structured in Photoshop will determine the order your layers are presented in the builder.
- Both hidden and visible layers will be included in the upload.
Our article Importing Photoshop Files will further detail the best practices for Photoshop file setup.
How to Import a Photoshop File
Below you will find a step-by-step process to import a Photoshop file into your ad unit. The Photoshop Import Component can be added to any type of Format.
- Once you've saved your Photoshop file, create a new ad.
- Next, click on the Components icon
 on the left side of the builder and select Photoshop Import.
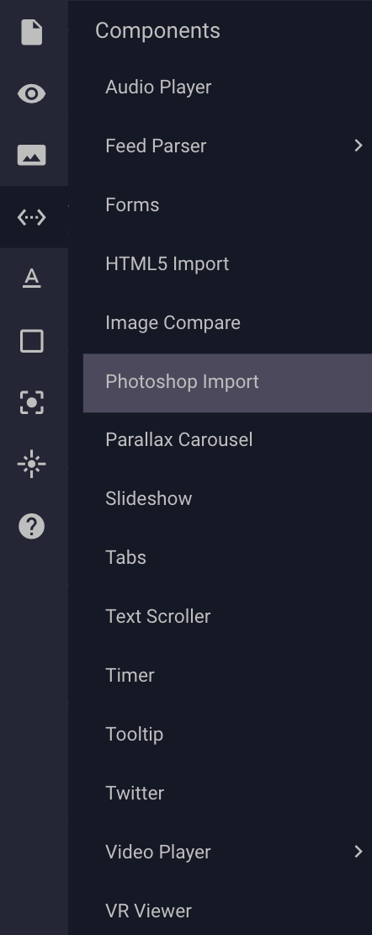
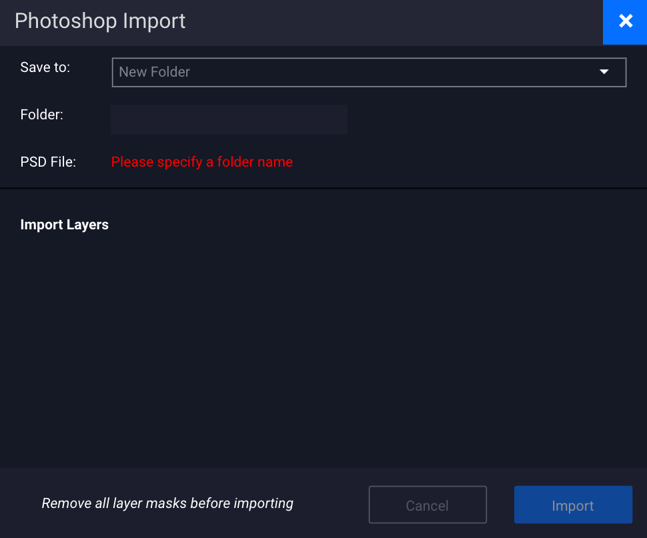
- A window will appear within the builder, prompting you to either create a new folder or choose from an existing folder.
- When creating a new folder, you will be prompted to specify a folder name before you can upload your photoshop file.
* For this example, we are naming our new folder "Adventive Asset." - The platform will then validate the name, create your folder, and prompt you to upload your photoshop file.
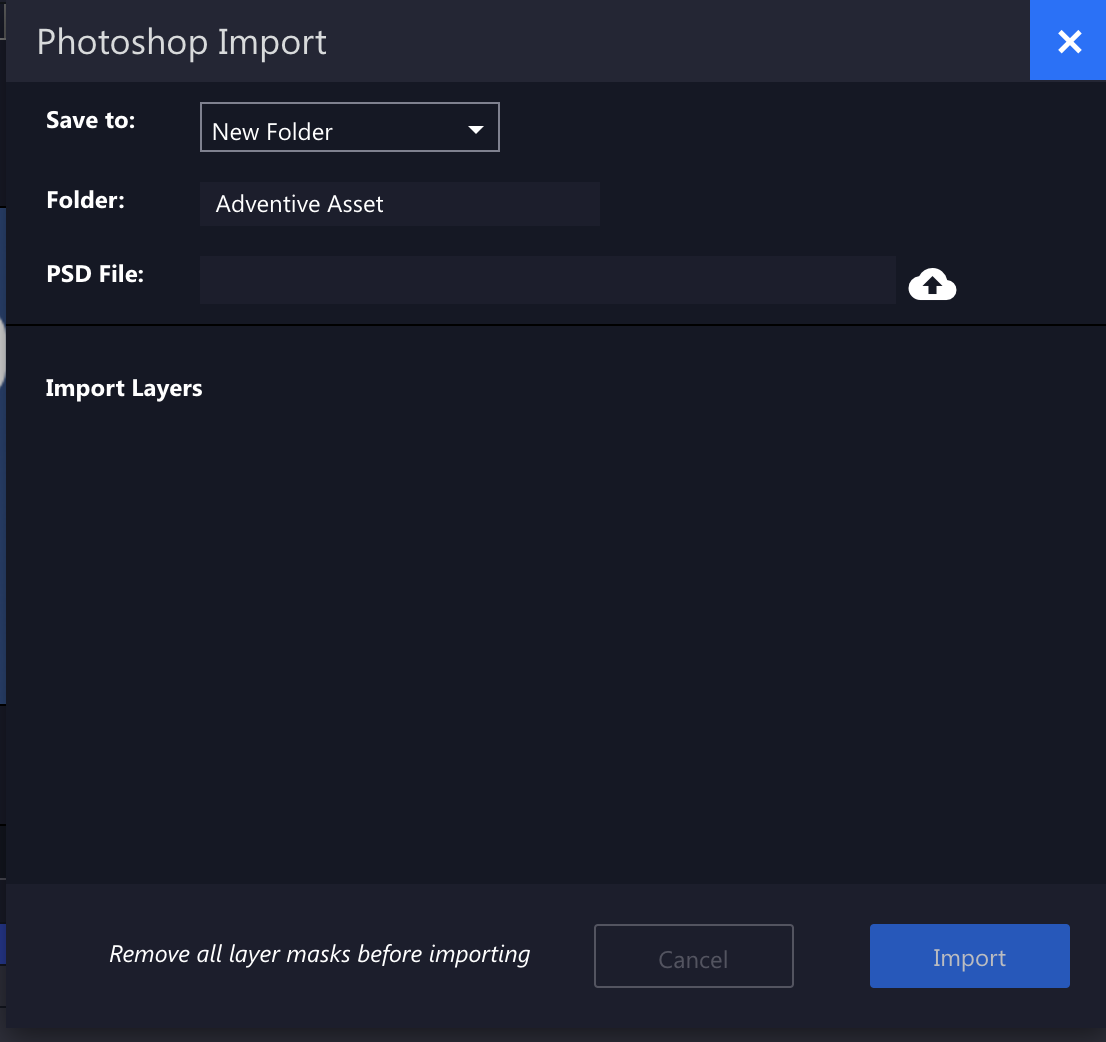
- You can either click the blank bar directly, or on the cloud icon to upload your Photoshop file.
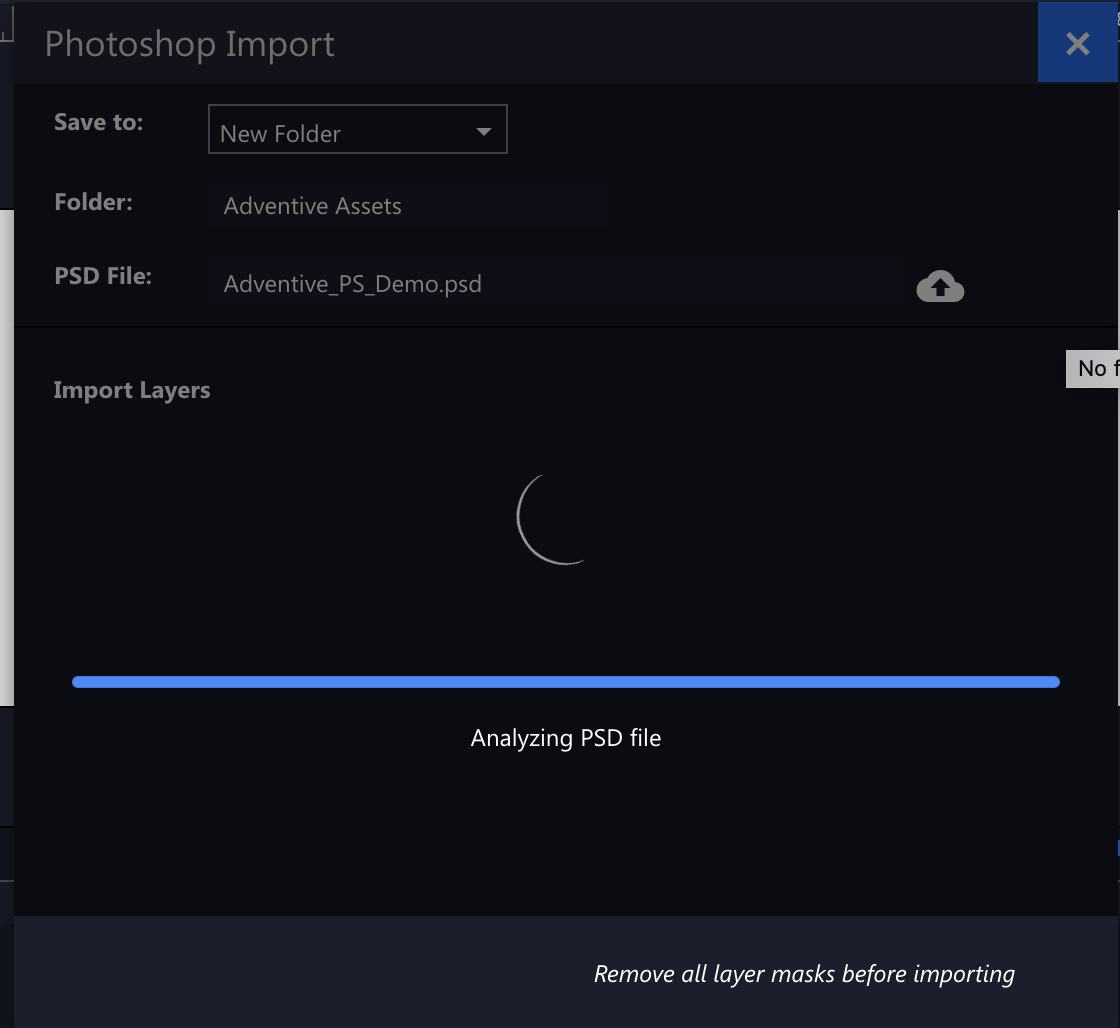
- After you select your file, the system will process and analyze the PSD. This may take a few minutes.
- Once the information is processed, all PSD layers (both hidden and visible) will be uploaded as assets in the order that they are layered in the PSD.
* PSD file order vs. Adventive Builder view: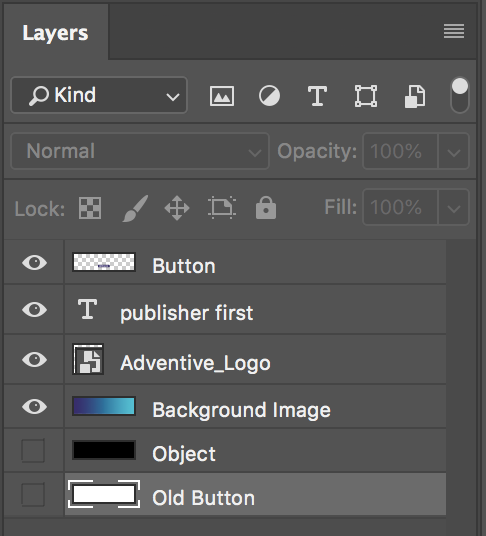
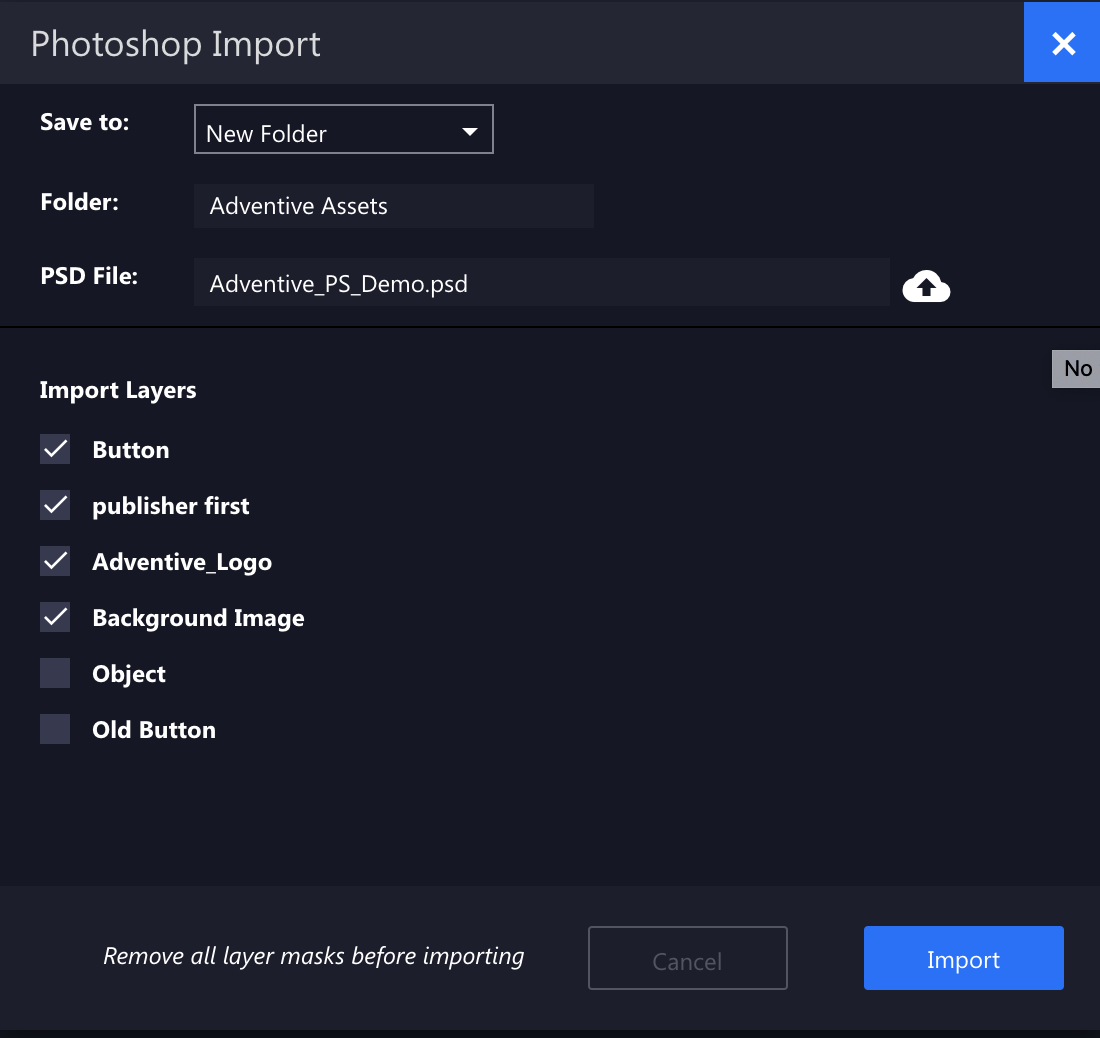
- Any layer asset with a checkmark will be uploaded into your ad build. You can check and uncheck assets before you hit the import button.
NOTES:
- Visible layers from your PSD will be automatically checked. Hidden layers will not. However, you can select and unselect them at will.
- Text layers will be converted into flat images, which means you cannot edit a text layer once it is imported.
- When you are satisfied with your layer selections, click the blue Import button.
By default, your assets will appear in order on the Screen 1 layers panel.
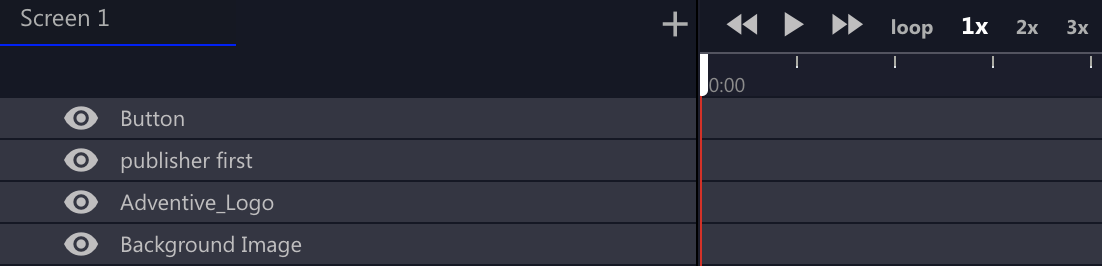
- You can now manage your assets on the canvas as usual.
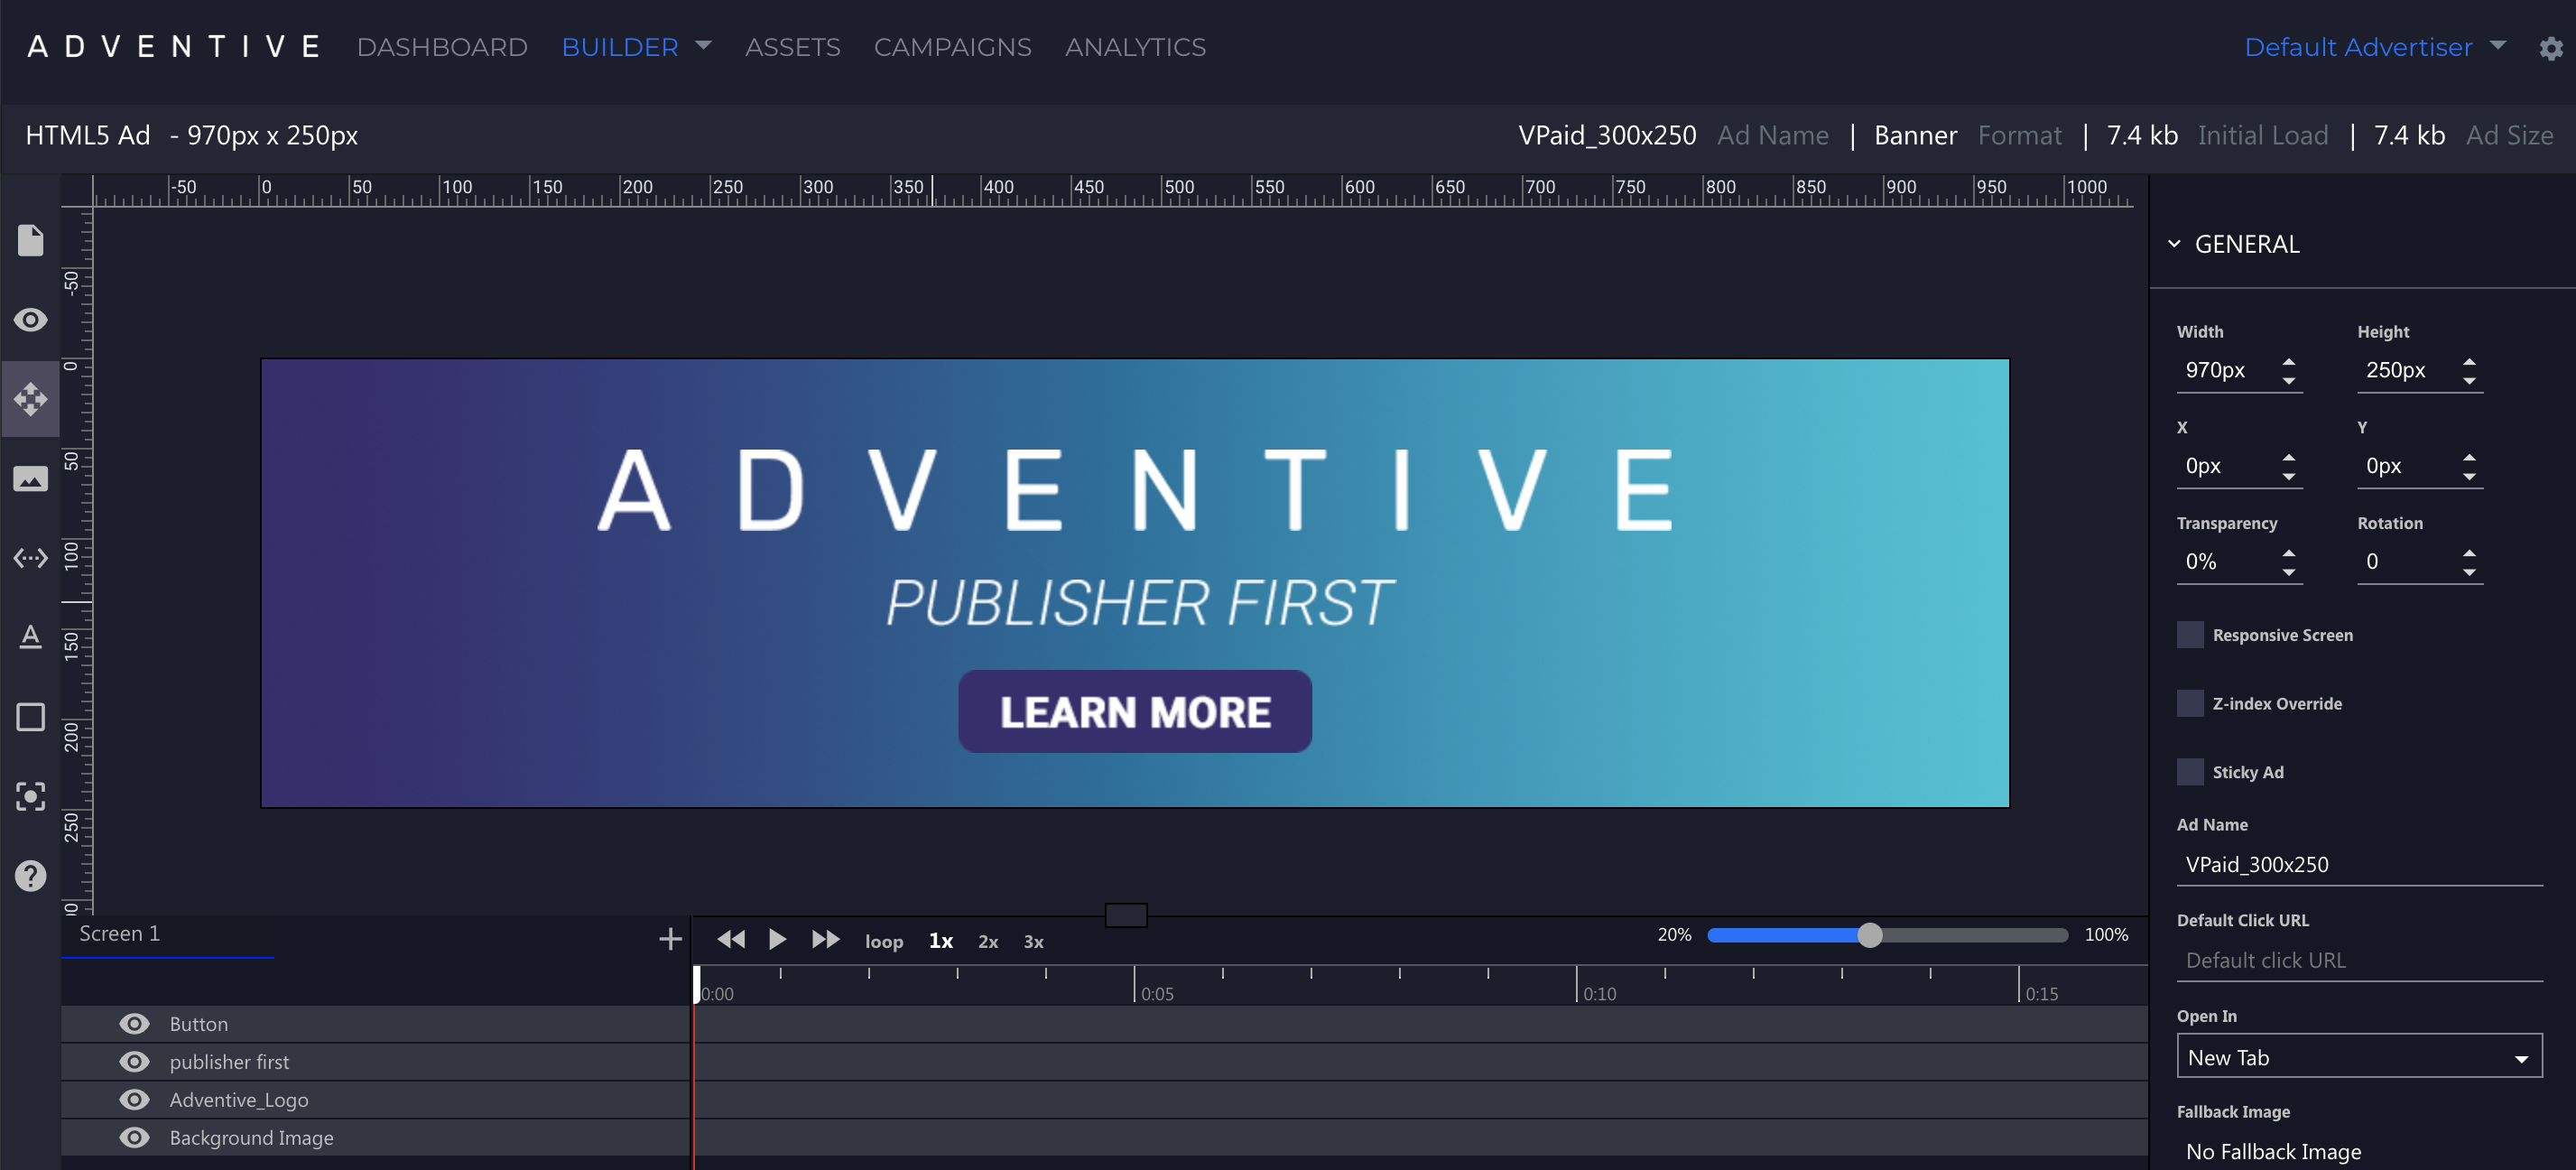
- Save and Preview
 your unit.
If you have any questions regarding the Photoshop File Import component, contact us at support@adventive.com.