In this article, you will learn:
How to Add Actions to an Ad Unit
How to Add an Action on Scroll
How to Configure the Action on Scroll
How to Add Actions to an Ad Unit
Actions are single-event operations to trigger something specific to happen within your ad build. Any asset, text box, shape or Hitbox can have a corresponding Action set to it.
- Choose the ad format and dimensions of the ad unit you wish to add the Action to. For guidance on building specific formats, check out this article.
- Once you have created your ad, select the object you’d like to set an action to.
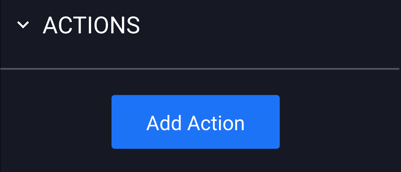
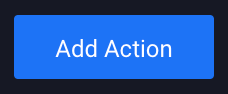
- Click the blue "Add Action" button on the right side of the builder:
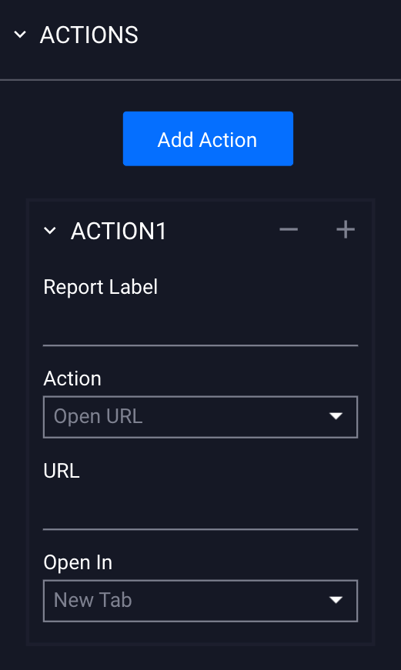
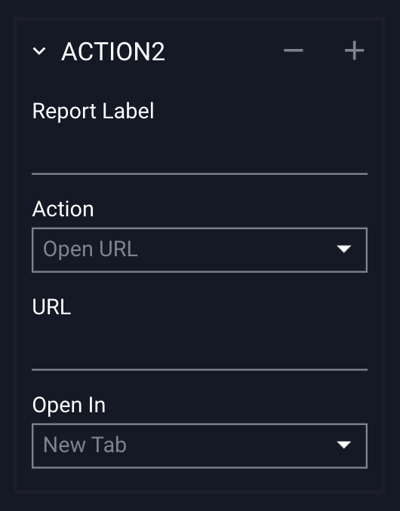
- The "Actions" section will then appear in the Properties panel:
How to Add an Action on Scroll
The On Scroll action will allow the unit to either Go To Screen, or Open Adhesion on user scroll.
* Note - This action is recommended for containers that will be in view when the page loads. We recommend testing on an actual page to determine the correct size. This action can be added to any type of format.
- In this example, we will create a Go To Screen Action on Scroll.
- Select the asset or object on your canvas that you'd like to add the Action On Scroll to.
* Note - If adding the Go to Screen action to a Hitbox, the Hitbox can be placed off canvas. See example below: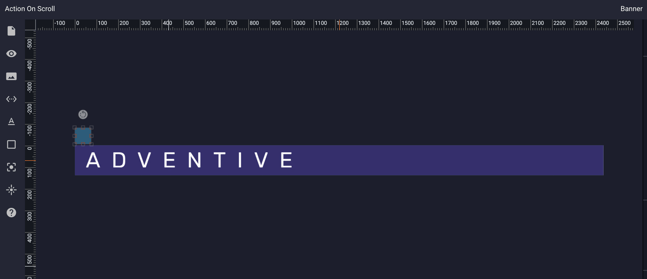
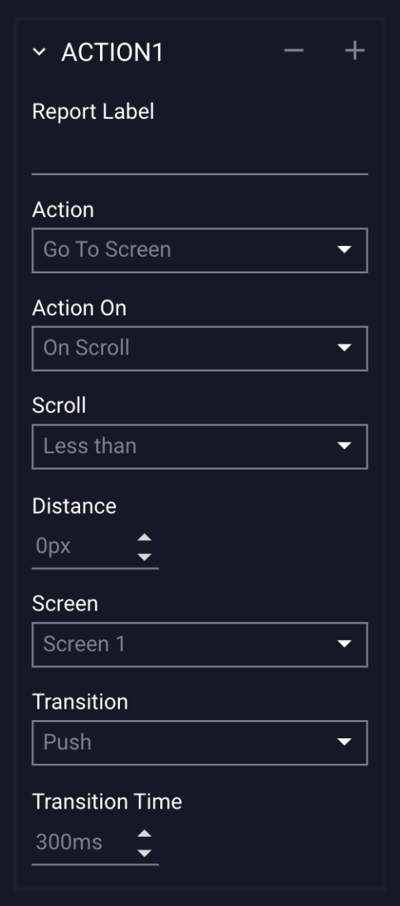
- Select Go To Screen from the Action dropdown menu, and On Scroll from the Action On dropdown menu:

How to Configure the Action on Scroll
-
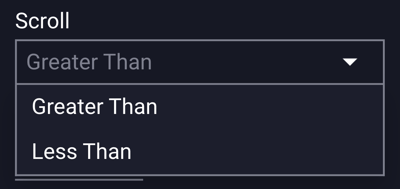
After you've chosen the initial Action, select whether you want the scroll distance to be Greater than or Less than a certain pixel distance from where the ad unit loads on your page:
- Set the Distance (in pixels) you want users to scroll before the Go to Screen action is triggered.
* Note - This field may need to be modified during testing: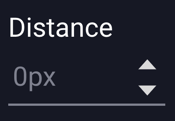
- Select the screen that contains the content which will open On Scroll (in this example, Screen 2):
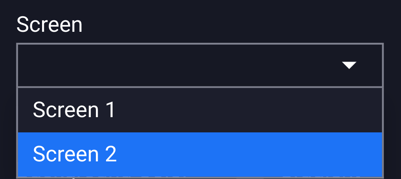
- * Note - Be sure you have added screens before you get to this step, or they will not be available in the drop down menu. More information on adding additional screens can be found within our Screens & Layers article.
* When adding a second screen, the second screen can be be the same width as your first screen, but does not necessarily need to be, depending on your ad. - Select the Transition animation effect - Slide, Fade or Push:
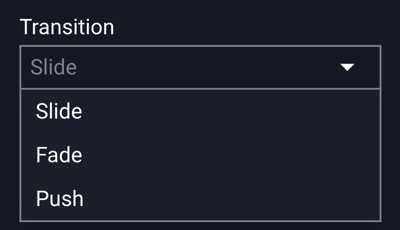
Slide – Screen slides left, right, up or down.
Fade – Screen crossfades to the next.
Push – Screen pushes page content down or up. - Set the Transition Time – Speed of the transition animation (default is set at 300ms).

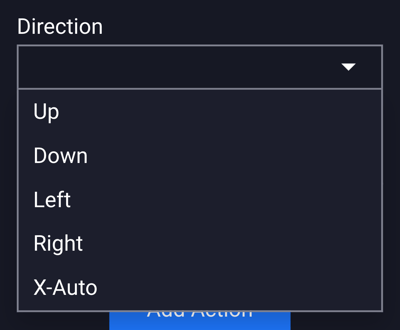
- Select the Direction – Up, Down, Left, Right, X-Auto (auto detect):
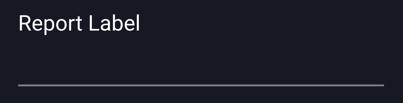
- Report Label - (Optional) Append a unique label for the Go To Screen action, which will display in campaigns and reporting:
- Save and Preview to test.
Example:
Collapsible banner using "Go to Screen on Scroll" action.
Additional Notes:
- To add additional actions to your Screen 1, select the blue “Add Action” button below your previously added Go To Screen action:
- Action 2 will then be added to the Action Properties Panel:
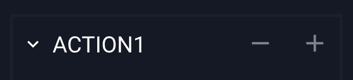
- To remove an action, select the object/layer/asset that has the action set and click the - (minus) button located at the top right of the added action, within actions panel.
- Clicking the + (plus) button will add a new action directly below the selected action.
To allow the ad to expand back to Screen 1 on scroll up, follow the steps below:
- Navigate to your Screen 2 (or whichever screen your first action transitions to) and create a second Hitbox off your canvas with the following settings:
- Set the desired Less Than Distance (in pixels), to determine how many pixels the user scrolls back up the page before the unit transitions back to Screen 1.
- Save and Preview to test.
Need more help? Contact us at support@adventive.com