In this article, you will learn:
How to Add Actions to an Ad Unit
How to Add the Open As Full Page Flex Action
How to Configure the Open As Full Page Flex Action
How to Add Actions to an Ad Unit
Actions are single-event operations to trigger something specific to happen within your ad build. Any asset, text box, shape or Hitbox can have a corresponding Action set to it.
- Choose the ad format and dimensions of the ad unit you wish to add the Action to. For guidance on building specific formats, check out this article.
- Once you have created your ad, select the object you’d like to set an action to.
- Click the blue "Add Action" button on the right side of the builder:
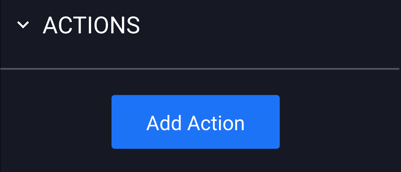
- The "Actions" section will then appear in the Properties panel:
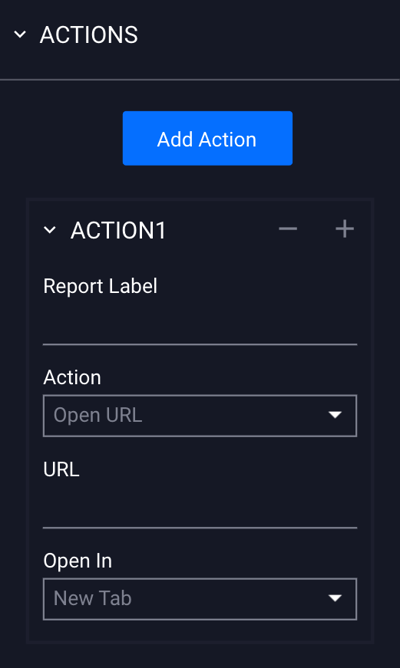
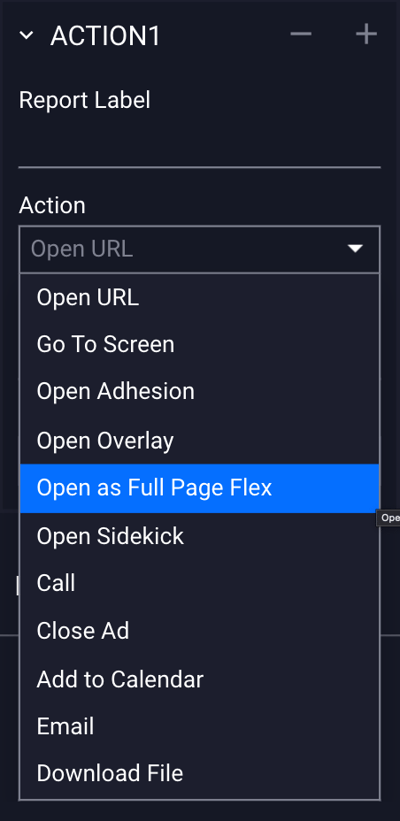
- You have the option to Open URL, Go To Screen, Open Adhesion, Open Overlay, Open As Full Page Flex, Open Sidekick, Call, Close Ad, Add To Calendar, Email, or Download File.
How to Add the Open As Full Page Flex Action
The Open As Full Page Flex Action will open another screen and background image as a full page flex creative.
- Select the asset or object on your canvas that you'd like to add the Full Page Flex Action to.
- Select Open as Full Page Flex from the dropdown menu:
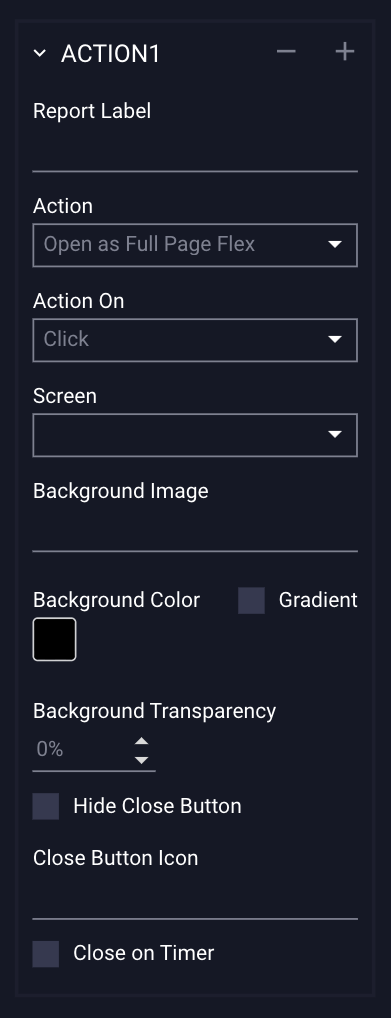
- Once selected, the following fields will show:
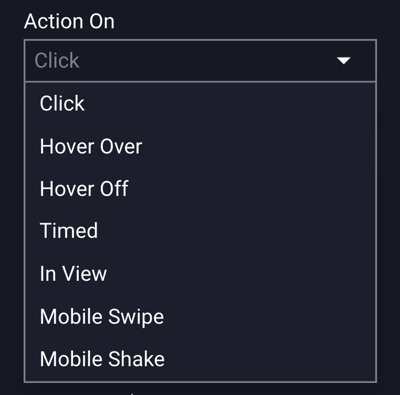
- Click the dropdown menu beneath "Action On" to select how the action is triggered:
How to Configure the Open As Full Page Flex Action
The configuration options for the Open As Full Page Flex Action are explained below:
| Report Label | (Optional) Append a unique label for the Open As Full Page Flex, which will display in campaigns and reporting. |
| Action | Single-event operations which trigger something specific to happen within an ad build. |
| Action On | The event that will trigger the action. |
| Click |
The action is triggered when a user clicks on the action area. |
| Hover Over | Triggers action on mouse hover over. |
|
Hover Off |
Triggers action on mouse hover off. |
| Timed |
Set the amount of time in seconds before the action is triggered. * If selected, you'll be prompted to set the Frequency and Delay time. You also have the option to cancel the timed action on engagement (optional).
|
| In View |
Triggers the action when ad comes into view. * If selected, you'll be prompted to set the Frequency of how often you want the ad to automatically open. |
| Mobile Swipe |
Triggers the action on user swipe of ad content. * Available for left/right and up/down swiping |
| Mobile Shake | Triggers the action when the user shakes the device. |
| Screen |
The screen in the ad unit that will launch/open as a Full Page Flex, when the action is triggered. * Note - More information on adding additional screens can be found within our Screens & Layers article. When adding a second screen, the second screen can be be the same width as your first screen, but does not necessarily need to be, depending on your ad. |
| Background Image | Click in this field to open the asset manager and add a background image. |
| Background Color | You can change the color of the background by clicking in this field and selecting a color and clicking "OK". |
| Gradient | If selected, you can choose a gradient color and rotation. |
| Background Transparency |
You can set the opacity of the background image or color. (0%=fully visible to 100%=invisible) |
| Hide Close Button | If selected, the default “x” close button will not appear. |
| Close Button Icon | (Optional) Click the input box to upload a custom close button icon image here. The asset manager will open, where you can select or upload the image you want to use. |
| Close On Timer |
Automatically closes the ad after a specified number of seconds.
|
Once you have configured the above options, save and Preview to test.
Additional Notes
-
For information on building the Full Page Flex ad format, visit our article here:
https://help.adventive.com/en/knowledge/full-page-flex-format
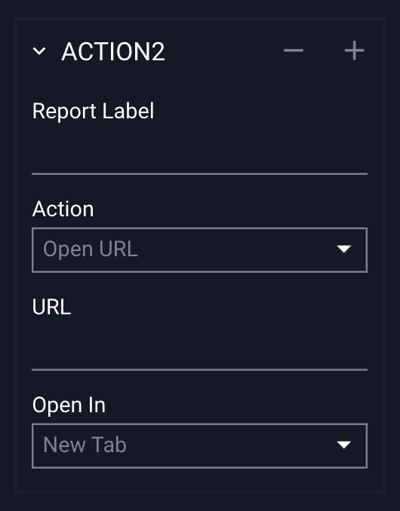
- To add additional actions, select the blue “Add Action” button above your previously added Open as Full Page Flex action.
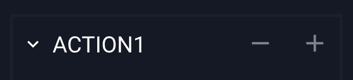
- Action 2 will then be added to the bottom of the Actions Properties panel.
- To remove an action, select the object/layer/asset that has the action set and click the - (minus) button located at the top right of the added action, within actions panel.
- Clicking the + (plus) button will add a new action directly below the selected action.