Creating, Editing and Managing Campaigns
Learn how to create new and modify existing campaigns in Adventive
Adventive's Campaign Manager is a simple, yet powerful tool to prepare for and organize your campaign for trafficking and subsequent performance reporting.
In this article, you will learn:
How to Modify an Existing Campaign
How to Create a New Campaign
Before creating your new campaign, ensure that you are in the correct Advertiser account you wish to create the campaign in. If you have yet to create an Advertiser, this article will guide you through that process.
The following steps will create a new campaign in Adventive:
- From the Dashboard or Campaigns screen click New Campaign.
- Enter the campaign name and the associated flight dates and click Submit.
Campaign names may only consist of alphanumeric characters, underscores and dashes. Commas, periods or slashes are prohibited characters in a campaign names.
Flight Dates are a required attribute to build your campaign and are used for reporting and sorting purposes, as well as scheduling reporting for individual campaigns. For more information on scheduled reporting, check out this article.

How to Modify an Existing Campaign
Modifying Campaign Name & Flight Dates
- To modify the campaign name, or flight dates, simply click on the field you wish to edit. The inline field editor will open, allowing you to make the necessary changes. Updates are saved automatically.
- Below the campaign header, there are two tabs - Sites and Placements and Delivery Groups.

Sites and Placements is where you'll add sites and placements to your campaigns.
Delivery Groups is where you'll manage your Delivery Groups.
*Note - Sorting functionality for the Placements is to the far right. Click on the dropdown menu to choose to order the placements alphabetically or by date last modified:
- More information on the main elements of a campaign and its structure can be found within our article Campaign Manager Overview.
Campaign Actions Menu
The Campaign Actions Menu is located just under the header at the top right of the page.
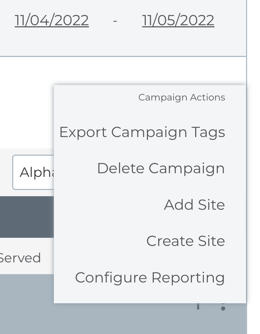
Campaign Actions Menu Options
| Export Campaign Tags |
Export tags for the entire campaign. * Note - See article Exporting Ad Tags for more information. |
| Delete Campaign | Delete the entire campaign. This action cannot be undone. |
| Add Site | Add an existing site to the campaign. |
| Create Site | Create a new site and add it to the campaign. |
| Configure Reporting |
Adventive's automated reporting allows the user to setup a specific schedule for the delivery of up-to-date reports to any number of email recipients. * Note - See our article Configuring Automated Reporting. |
Sites
Sites are the web properties where you’ll run your ads. Simple campaigns will have a single site, while advanced campaigns will have multiple properties. When you create a campaign you’ll first need to add a site.
- To add a site, click the plus sign (+) icon at the top right of the page or select Add Site from the Campaign Actions dropdown menu.
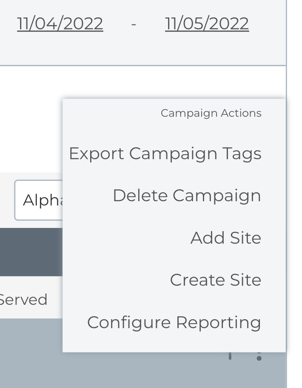
- A list of your sites will open in a popup window. Your site list will include all sites created across your Adventive account. Click the site you’d like to add and click Submit.
- If you haven’t created any sites, or need to create a new site, select Create Site from the Campaign Actions menu.
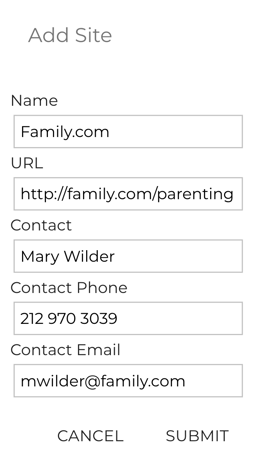
- A popup window will open. Site name is required. URL, contact, phone and email fields are optional. Click Submit to create your site and add it to the campaign.
Placements
All sites require at least one placement. A placement is the section of the site where your ad will appear (i.e. News section, Travel section, or ROS, etc.) Where the ads run will be ultimately determined by your trafficking set up in your 1st party ad server. You can also name the placement in reference to the ad size, ad type, or based on your own naming conventions, and whichever works best for your own organizational purposes.
- Once you’ve added a site to your campaign, you can now create placements. To add a placement, click the plus sign (+) icon located to the right of the site name or select Add Placement from the Site Actions dropdown menu.
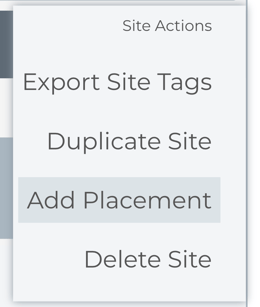
- A new placement will be added to your site. Enter the placement name and flight dates (if they differ from overall campaign flight dates). Estimated impressions are optional fields.

Placement Actions Menu
The Placement Actions Menu is located on the lighter teal line, to the right side of the placement.
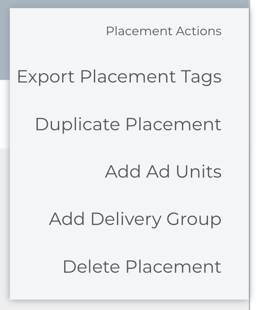
Placement Actions Menu Options
| Export Placement Tags |
Export tags for the entire placement. * Note - See article Exporting Ad Tags for more information. |
| Duplicate Placement | Allows you to duplicate the placement with existing ads (3rd party tracking optional). See more information below. |
| Add Ad Units | Add ad units to your placement. |
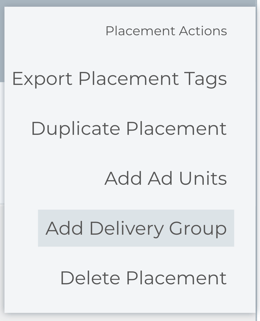
| Add Delivery Group | Add a Delivery Group to your placement. |
| Delete Placement |
Delete the placement from the campaign. * Note - This will delete all ads and creative groups associated with the placement. This action is not reversible. |
Duplicate Placement
- When this is selected, the following window will appear:
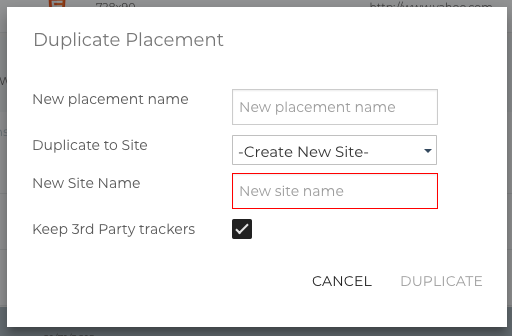
- Type in new Placement name
- Select or create a site.
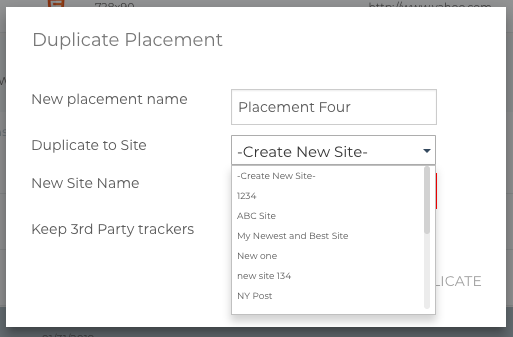
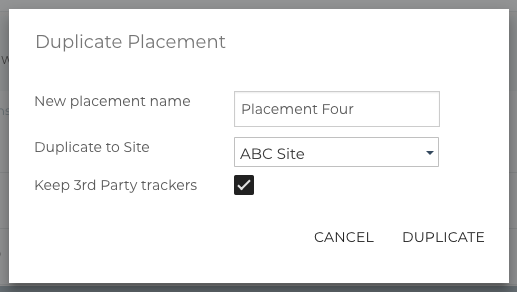
- Uncheck the "Keep 3rd Party trackers" box if you plan to use new trackers in your new placement. If you want to keep the existing trackers, keep the default box selected.
- Click "Duplicate".
Ad Units
Ad units are the creatives that will be displayed on site. Once you’ve added a placement to your site, you can now add ad units.
- There are three different ways to add ad units to your placement:
- If no ads have been added to the placement yet, a message saying "This placement has no ad units associated with it. To add ad units, click here." will appear. Select "click here":

- You can also click the plus sign (+) icon located to the right of the placement name to add ad units:
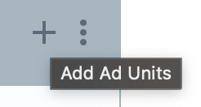
- Or you can select "Add Ad Units" from the Placement Actions dropdown menu:

- If no ads have been added to the placement yet, a message saying "This placement has no ad units associated with it. To add ad units, click here." will appear. Select "click here":
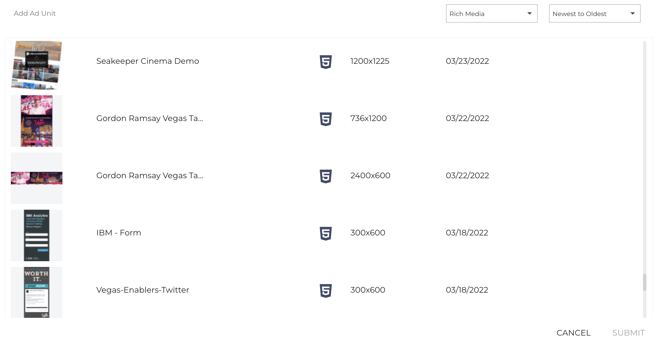
- Once any of these options are selected, a list of your ad creatives will open in a popup window:

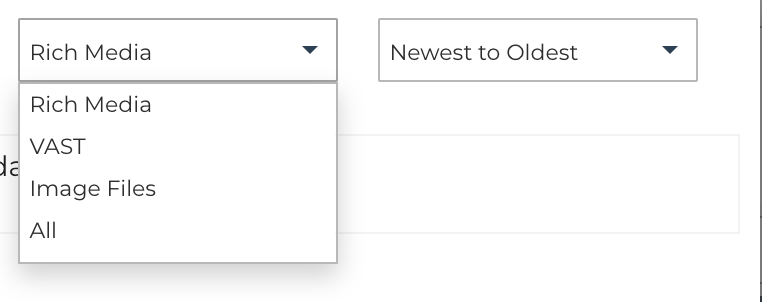
- The two dropdown menus in the upper right hand corner of the window allows you to sort by creative type (Rich Media, VAST, Image File, All) and from Newest to Oldest (alphabetically or by last modified date).
File Types:
Rich Media Files that include advanced features such as video, audio, slideshows, animations, or any other elements that engage a viewer. VAST VAST videos that were created within the VAST Ad Builder. Image Files Static images. Any image file - png, jpg or gif uploaded to assets will populate.
* Note - Image files can have one click URL assigned, but allow for multiple impression trackers.
- "Rich Media" is selected by default. When this is selected, all Rich Media ads will appear within the window:
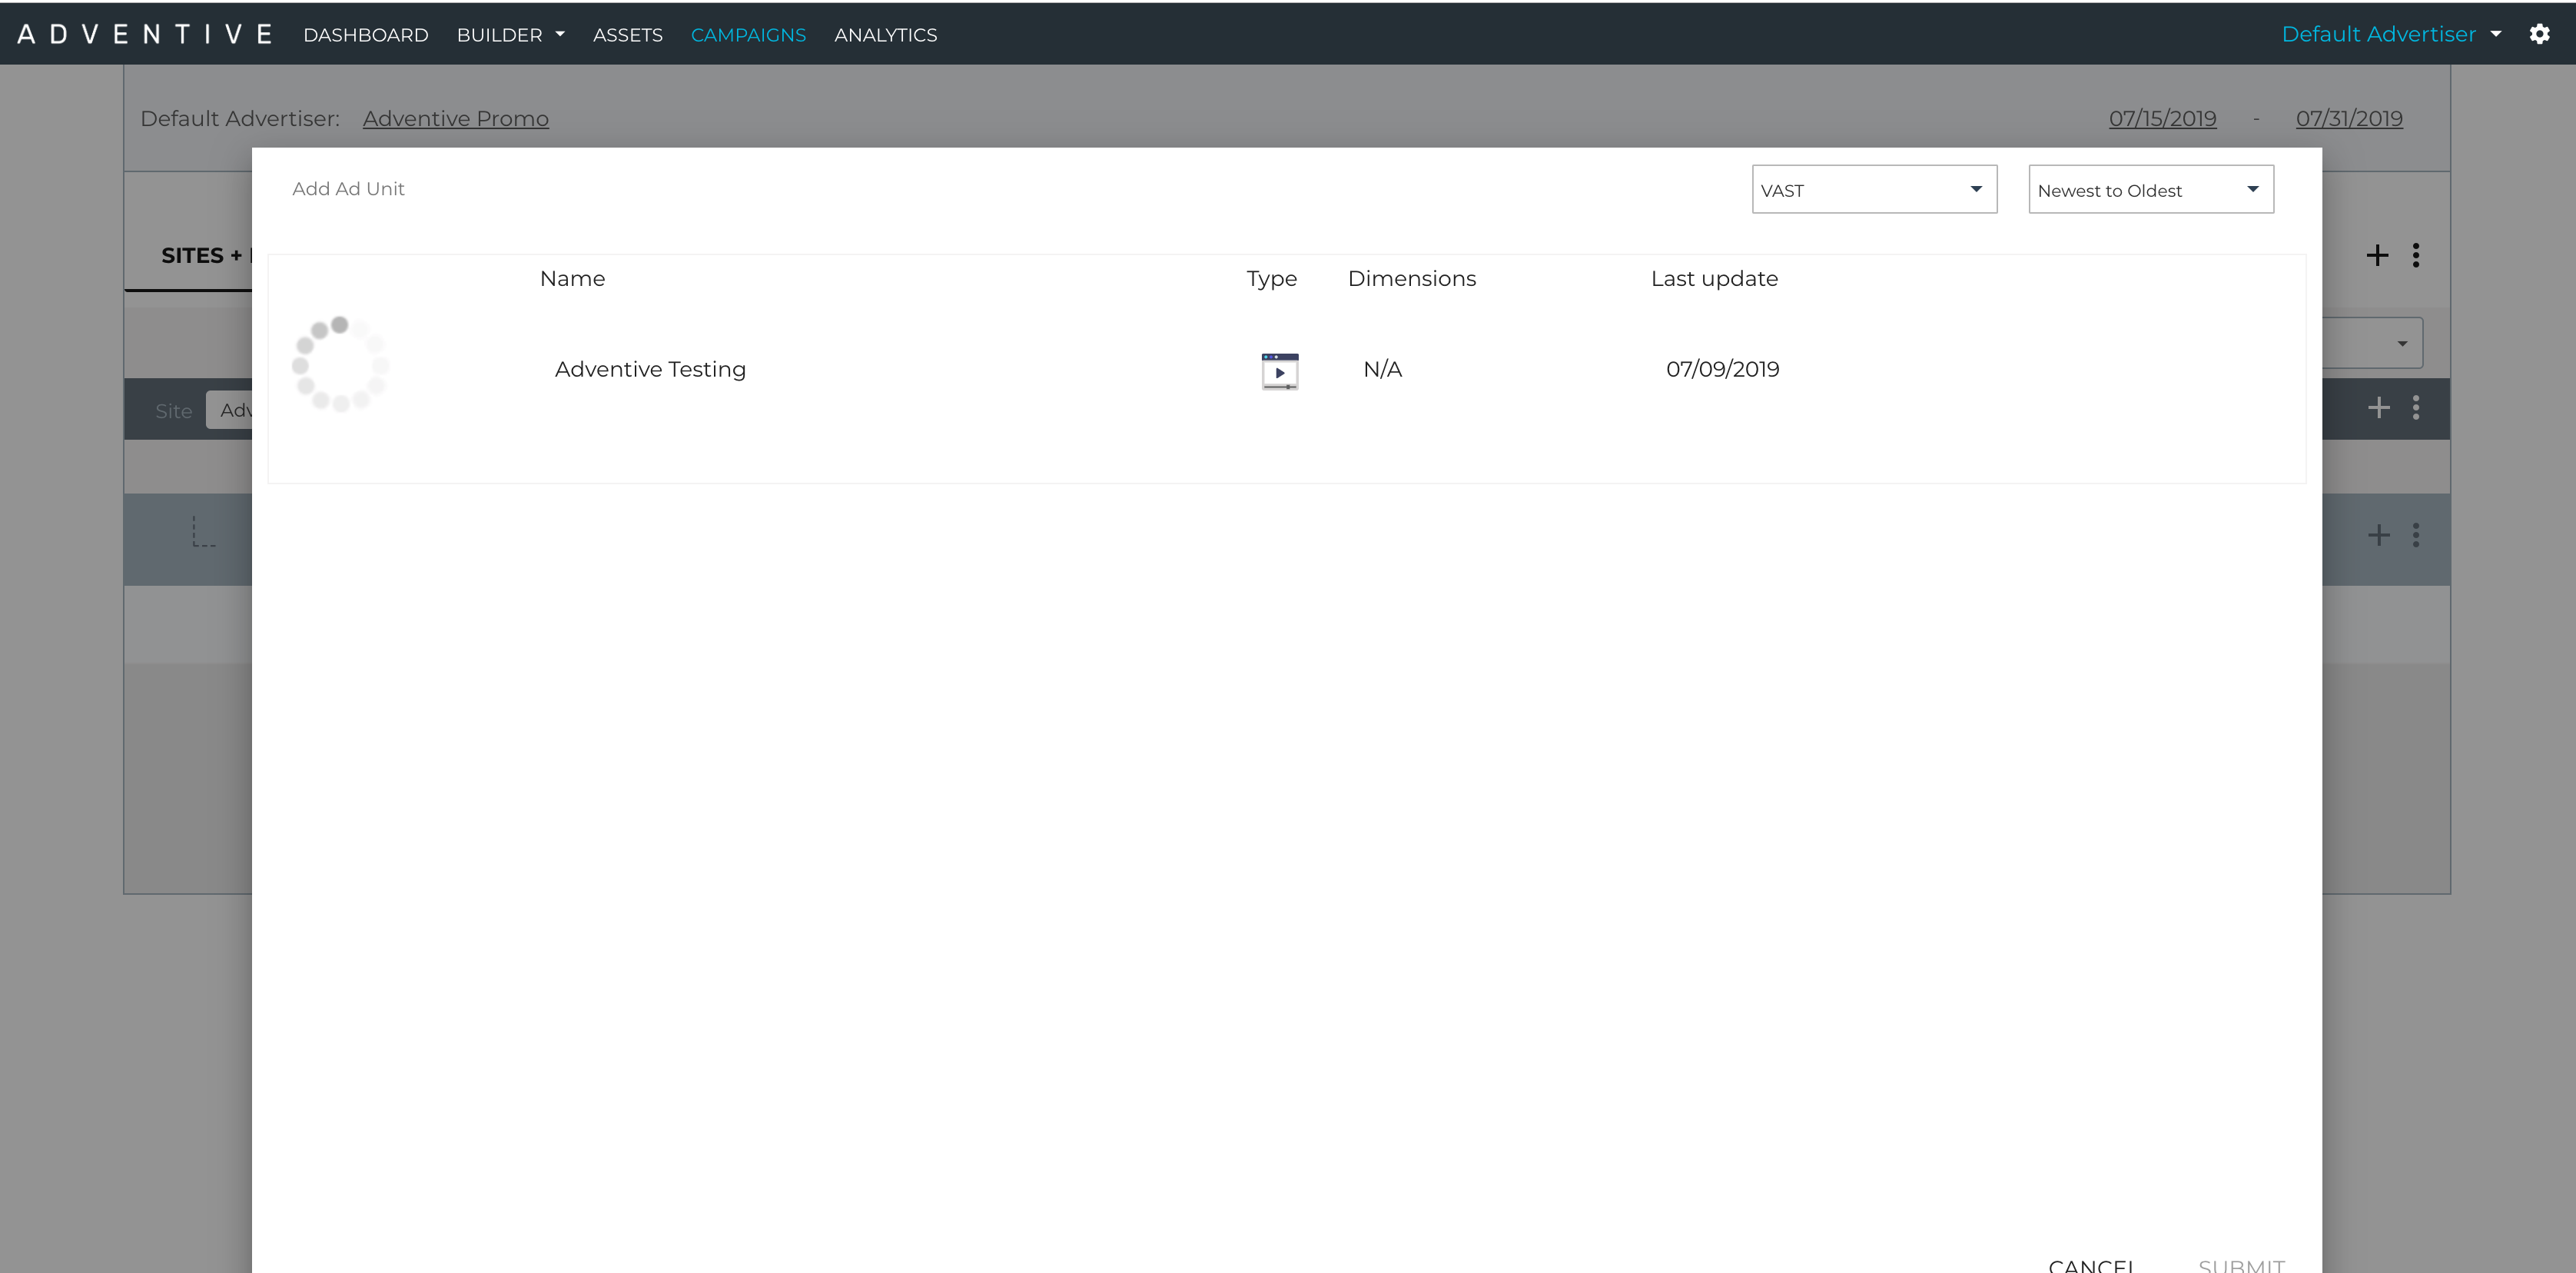
- Select "VAST" to add your VAST ad. You will see all existing VAST Ads, as well as a preview image on the lefthand side:
- Click to select the ad units you want to add to the campaign. To unselect an ad, just click it again.
- Click "Submit" to add your ad units to the campaign.
- Ad units will be displayed under your placement as single line items. The ad name and click-through URL are inline-editable and can be updated by clicking on the underlined text. The creative name is not editable as it represents the creative asset to be displayed.
* Note - To change the creative asset name, see our article
Configuring Ad Properties. - The type of file/dimensions will show:
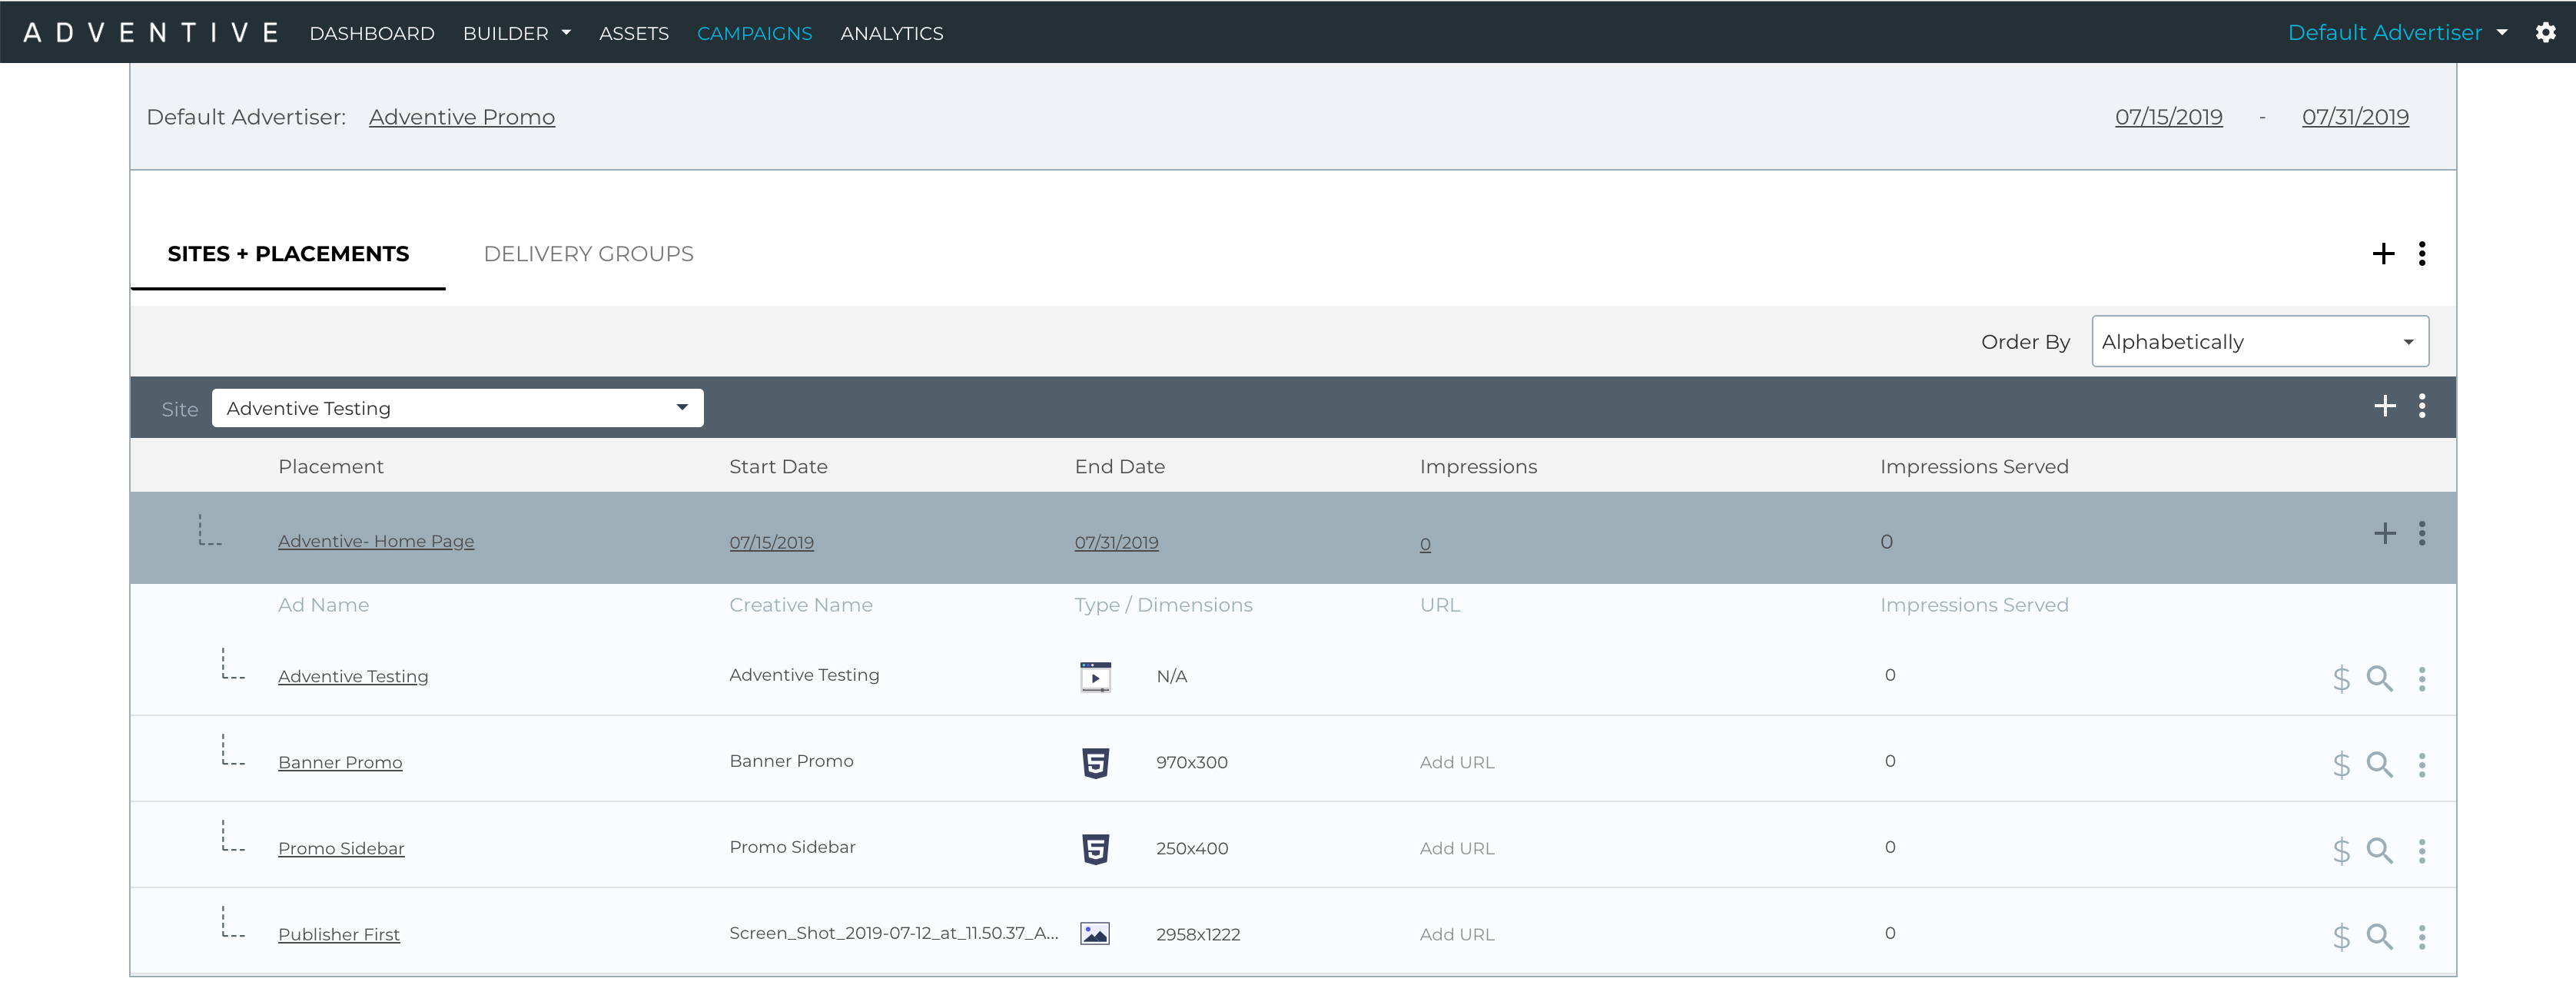
Rich Media file:
VAST file:
Image File / Static image: - You can preview the ad unit by clicking the magnifying glass icon, located to the right of the ad unit:

- If you added a backup image to your Rich Media creative when building the ad unit, an image icon will be displayed next to the Rich Media ad:

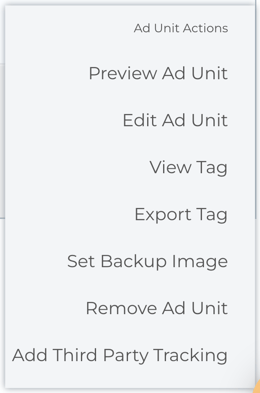
- You can also add a backup image from the Ad Unit Actions menu:
*Note - This does not apply if "a static image" is selected.
Ad Unit Actions Menu
The Ad Unit Actions Menu is located to the right side of the ad unit line item.

Ad Unit Actions Menu Options
| Preview Ad Unit | Opens the ad preview in another window. |
| Edit Ad Unit |
Opens the creative in the Builder for editing. * Note - This does not apply if static image is selected. If you do not have access to the Builder, this option will be greyed out. |
| View Tag | View the single ad unit tag. |
| Export Tag | Export the single ad unit tag. |
| Set Backup Image |
(Optional) The image (of the same initial dimensions of the ad unit) that will be displayed should the users browser not be capable of displaying the rich media unit. Click to add or edit the backup image for the ad unit. A popup window will open displaying static image assets matching the ad dimensions. View all files or by asset folder. Click to select a backup image and click Submit to save. More information can be found below. * Note - This does not apply if static image is selected. |
| Remove Ad Unit | Click to remove Ad Unit from placement. |
| Add Third Party Tracking |
Click to add click, impression, engagement, and viewability tracking to your ad unit. See our article Understanding Third Party Tracking for full details on adding Click, Impression, Engagement, and Viewability tracking. * Note - Image files can only have one click URL assigned, but allow for multiple impression trackers. |
Set Backup Image
- When this is selected, the following window will appear:
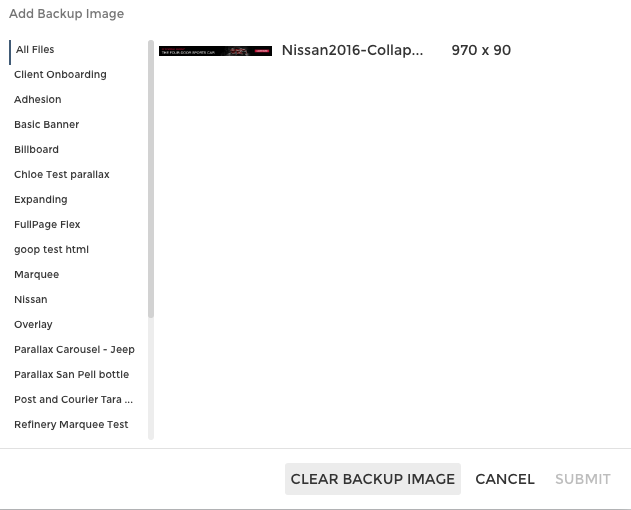
- Choose the folder, and select the image file you'd like to use for the Backup Image.
- You can also clear a Backup Image from here by clicking on "Clear Backup Image". You can then choose a different backup image if needed - then submit and republish.
Delivery Groups
Delivery Groups allow you to traffic multiple creatives across mobile, tablet and desktop with a single ad tag. Depending on browser size and algorithm chosen, Adventive will automatically deliver the appropriate ad unit.
See below for options, and our article Overview of Delivery Groups for more details on each option/walkthrough.
- To create a new delivery group, click the "Delivery Groups" tab located to the right of the Sites + Placements tab.

- There are three different ways to add Delivery Groups:
- If no Delivery Groups created yet, a message saying "There are no delivery groups- click here to create" will appear. Select "click here":

- You can also click the plus sign (+) icon located just below the campaign header on the right side of the page:

- Or you can select "Create Delivery Group" from the Campaign Actions dropdown menu:

- If no Delivery Groups created yet, a message saying "There are no delivery groups- click here to create" will appear. Select "click here":
- Once any of these options are selected, a popup window will open. Give your group a name select a creative rotation algorithm.
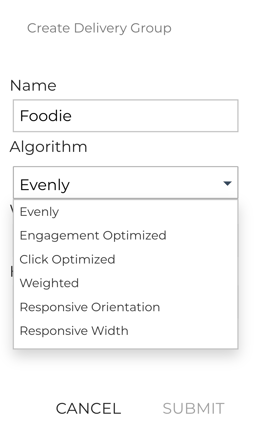
- If you have selected "Evenly", "Engagement Optimized", "Click Optimized", or "Weighted" for the Delivery Group algorithm, insert the width and height:
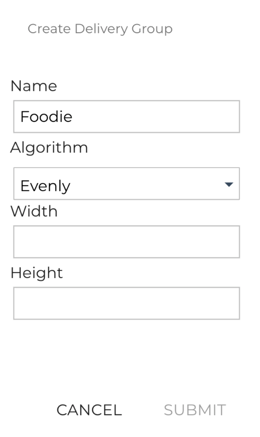
- Click "submit" to create your new group (see example below):
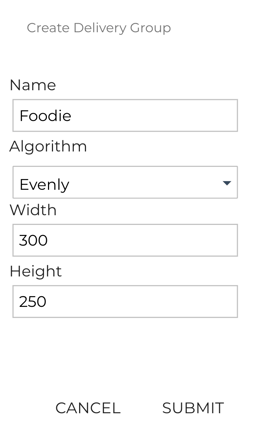
Delivery Group Algorithms
Creative Rotation allows you to determine how the ads in your creative group will be delivered. See our article Overview of Delivery Groups for more details on each option/walkthrough.
- Evenly: This selection will automatically distribute impression equally between all creatives in a group.
- Engagement Optimized: Creatives will be optimized according to engagement rate (ER = Total Engagements/Total Impressions). Creatives with the highest engagement rate will be served more often, and Adventive will automatically phase out poorly performing creatives.
- Click Optimized: Creatives will be optimized according to click-through rate (CTR = Click-throughs/Impressions). Creatives with the highest click-through rate will be served more often, and Adventive will automatically phase out poorly performing creatives.
- Weighted: If you select weighted rotation, each creative will rotate based on the frequency you specify. You can set frequency once you’ve selected the ad units for the group.
- Responsive Orientation: you can choose landscape or portrait and Adventive will serve the appropriate ad according to page layout.
- Responsive Width: you can choose where the ad will display (mobile, desktop, tablet) and set the breakpoints (you can replace the default placeholders).
Editing Delivery Groups
Group name and rotation can be edited by clicking the underlined text. Grouped ad units are listed as line items below the group name header. The ad name and click-through URL are inline-editable and can be updated by clicking on the underlined text. If your group is set to weighted rotation, you also edit this in-line under the weight column header.
- To add additional ad units to your group, click the plus sign (+) icon located to the far right of the group name or Add Ad Units from the Delivery Group Actions menu.
- To delete a delivery group, select Delete Delivery Group from the Delivery Group Actions menu.
Adding A Delivery Group to A Campaign
Delivery Groups may be added to any placement within a campaign.
- To add a Delivery Group, navigate back to the Sites + Placements tab, and select "Add Delivery Group" from the Placement Actions dropdown menu, located to the right side of the placement you'd like to add the Delivery Group to:
- A list of your Delivery Groups will open in a popup window. The dropdown menu in the upper right hand corner of the window allows you to sort by last modified date.
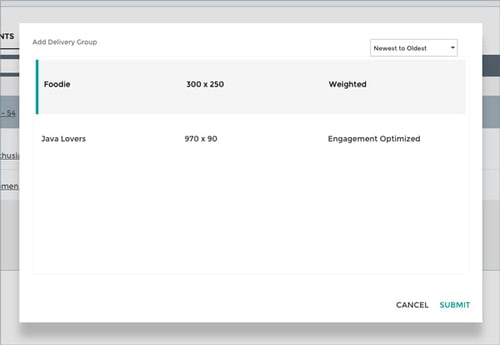
- Click to select the Delivery Group you want to add to the campaign. To unselect a group, just click it again.
- Click Submit to add your Delivery Group to the campaign.
- Your Delivery Group and associated ads will be displayed under your placement. To edit a Delivery Group, click the Delivery Groups tab at the top of the page.
Generating and Exporting Ad Tags
Adventive’s tag generator allows you to export the right first-party tag format, ensuring ads are distributed with the appropriate tag settings. Tags can be exported at the Campaign, Site, Placement or ad unit/ad group level.
See our article Exporting Ad Tags for more details.
- To generate tags, select Export Tags from the Actions drop down menu.
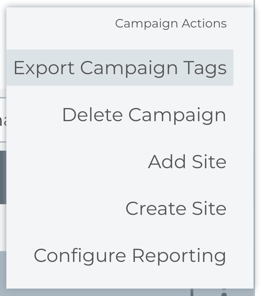
- Select an Ad Server or Trafficking platform. Adventive is SSL compatible, and supports all major first-party ad servers. Adventive will automatically select the proper tag depending on where the ad is being served. If your vendor is not listed, select Generic Tag.
- * Note - If you require a specific tag format, please contact support@adventive.com.
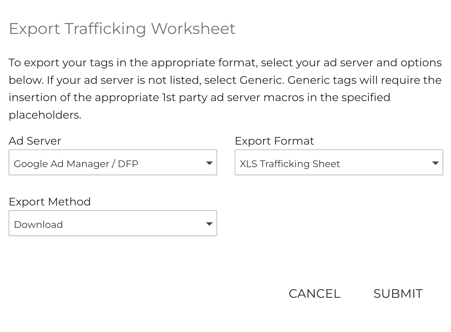
- Select an Export Format - Excel XLS, CSV or Text file, and export method - Download or Email.
- Click Submit.