In this article, you will learn:
How to Open the Rich Media Ad Builder
How to Add Assets to Your Canvas
This demo ad unit "Adventive Banner Template", and all other format templates are saved within your Saved Templates section of the builder. These templates are available for use within all advertisers.
How to Open the Rich Media Ad Builder
- When you first open the Adventive Console, you'll automatically be brought to your Dashboard, within your "Default Advertiser".

* Note - Advertisers are a core organization mechanism within Adventive. Advertisers allow you to keep your creative assets, ads, campaigns and reporting organized and separate from other advertisers. Click the dropdown menu in the upper right corner to add a new advertiser, or select one from your list. "Default Advertiser" is automatically selected when you first log into your account.
More information on advertisers can be found within our knowledge base article Creating, Editing, and Managing Advertiser Settings and Permissions. - Once you have created or selected your advertiser, navigate to the left side menu and click Create Ad. Select "Rich Media Ad Builder":

* Note - Information on building video ads with our Instream Video Ad Builder can be found within our article Instream Pre, Mid, Post Roll VAST Builder. - The Rich Media Ad Builder will open, and bring you to a "Create a New Ad" screen:

You also have the following menu options available:
| New Ad | Create a new ad. |
| Recent Ads | View and access your 10 most recent ads built within an advertiser. |
| Saved Ads | View and access all of your saved ads built within your currently selected advertiser. |
| Saved Templates |
View and access all saved templates within your currently selected advertiser. * Note - This demo ad unit "Adventive Banner Template", and all other format templates are saved within your Saved Templates section of the builder. These templates are available for use within all advertisers. More information on templates can be found within our article Building New Ads or Templates. |
| Import Ads | Import ads copied from a different advertiser. |
How to Create a Banner Ad
- In the "New Ad" screen, enter a name for your ad. For this example, we are naming this "My First Banner Ad", and selecting "Banner" for the format:
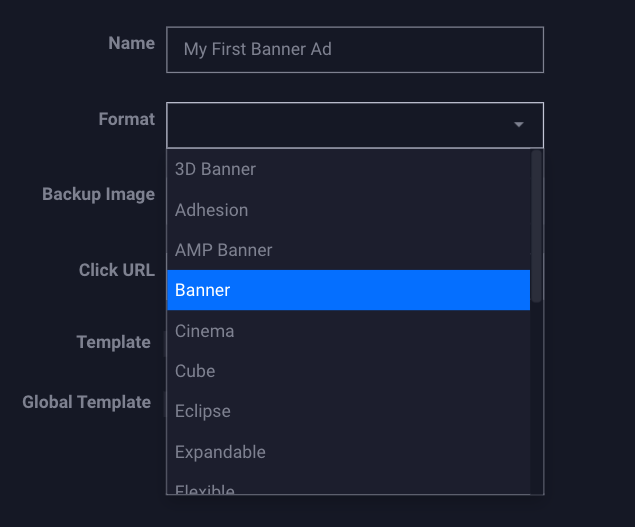
* Note - For details on building other ad formats, please view our Format Articles within our section on Building Ads. - Specify the size for your ad. In this example, we are using 728x90 for the ad size:

- The Backup Image is optional. This is an image sized to the same initial dimensions of the ad unit, that will be displayed should the users browser not be capable of displaying the rich media unit. This can be selected here. You also have the option to insert this within the builder, or within the campaign.
- The Click URL can be entered here if desired. You can also add this within the builder, or within the campaign.
- Once you have entered a name, chosen the format, and selected the size, hit Submit.
- The builder will open your ad unit canvas, built to the specified dimensions of 728x90:

* Note - Please view our article Rich Media Ad Builder Overview for a quick guide to understanding the anatomy of the rich media ad builder, and our article Configuring Ad Properties for more information on how to configure the General Properties for your ad unit.
How to Add Assets to Your Canvas
- For this demo, we will be using a single background image for the creative, a text layer for the CTA, and a rectangle layer for the CTA button shape.
- To upload or select assets and add them to you canvas, click the landscape icon
 located in the left side tools panel:
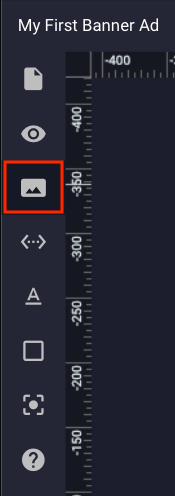
- This will open the Assets menu, where you can create new folders, upload new image and video assets, and select pre-existing assets to add to your ad canvas. See our article Asset Management for more information.

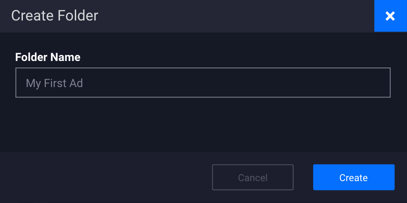
- Create a new folder if desired. In this example, we've created a folder called "My First Ad", where we will upload our background image asset:
- After your folder is created, click the blue "Upload" button in the bottom left corner of the Assets menu, and upload any desired assets. For this example, we are using a background image named "Banner-Template.png":

- Once your assets are selected, hit the blue "Insert" button in the bottom right corner of the window.
- Your selected assets will be added to your canvas:

- This particular image asset is larger than the canvas dimensions, but is sized to the same aspect ratio. To scale images proportionally on your canvas, hold the shift key, then click and drag the resize handles to resize the image(s) as needed:

- You can also resize image assets on your canvas by inserting a specified width and height within the General Properties Panel in the upper right section of the builder:
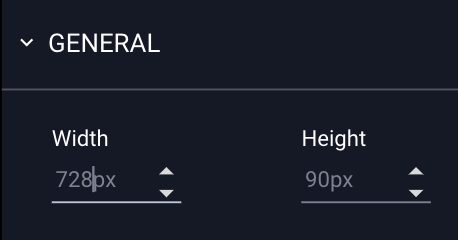
* Note - For this demo, we recommend sizing the background image asset to your canvas dimensions. It will be positioned edge-to-edge on the canvas when the X and Y coordinates are both set to "0px":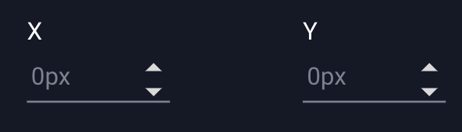
- Once the background image has been positioned, we can add in our CTA text layer and rectangle layer.
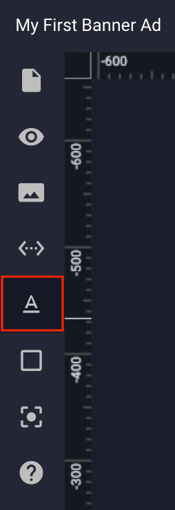
- To add a text layer, navigate to the left side tools menu and click the Text tool
 :
:
- Then click onto your canvas to add a text box:

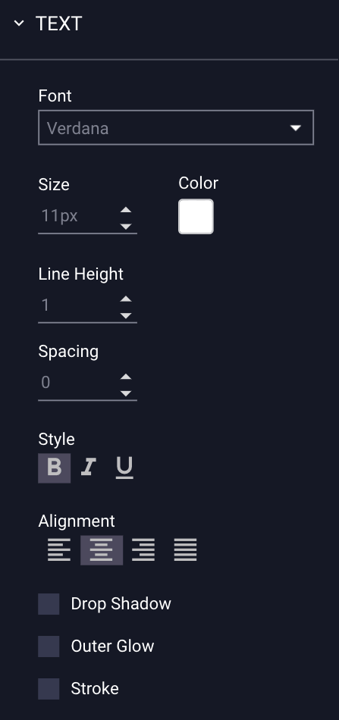
- For this demo, we'll add a text layer that says "ORDER NOW", and we'll use the right side Text Properties panel to choose Verdana for the font, white for the color, 11px for the size, bold for the style, and center alignment:
After adding/adjusting text:
- Next, we'll add a rounded rectangle behind the text layer to create a button.
- To add a rectangle layer, navigate to the left side tools menu, hover over the Shapes tool
 , and select "Rectangle":
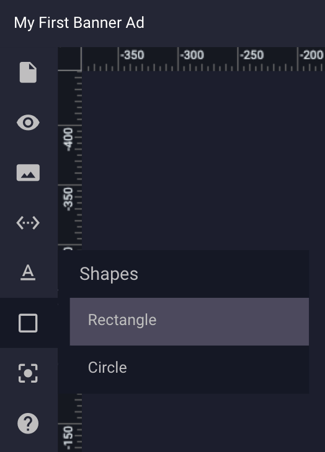
- A white 75 x 75 square will be added to the upper left corner of your ad canvas, which can be resized and repositioned as needed:

- The colors/style of the shape can be adjusted by ensuring that the shape is selected on the canvas, and then making changes within the Design panel on the right side of the builder.
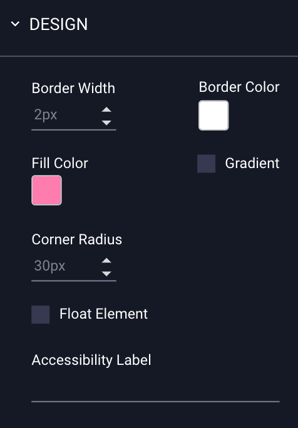
- For this shape, we are going to make it rectangular, give it a 2px white border, and match the pink of the background creative for the fill color. We'll also make the button rounded, by increasing the "Corner Radius" to 30px.
* Note - You can select a color from the ad canvas by using the eyedropper tool when selecting a color. Our color picker also supports both Hex and RGBA color codes: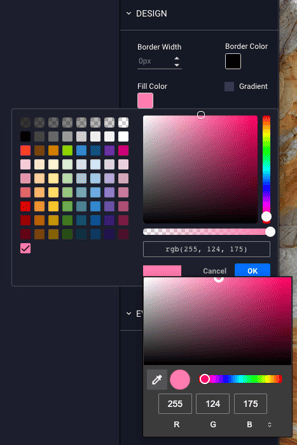
- Once you have selected your color, hit enter, and click the blue "OK" button. The following colors/settings will be applied to the rectangle button:
- Your rounded rectangle will update on the canvas:

- As you can see, the rectangle now covers the "ORDER NOW" text. We'll need to rearrange the text layers within the Screens & Layers panel in the bottom left, to ensure that the text is placed over the rectangle. To rearrange layers, click and drag the layers:
Before: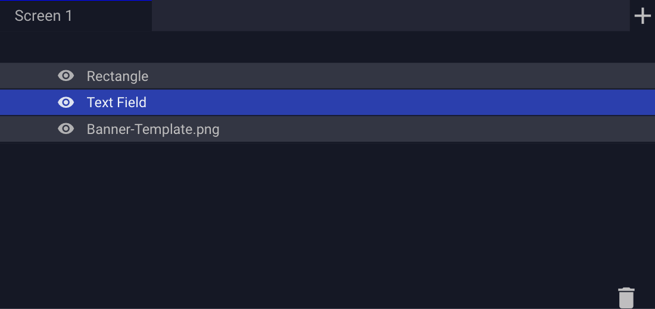
After:
* Note - You can also delete layers by selecting the layer, and either clicking the trash can icon in the bottom right corner of the screens & layers panel, or by hitting the delete key on your keyboard. - The text layer has now been repositioned above the rectangle layer:

- We have now finished adding assets to the canvas!
- A Default Click URL may also be added on the right side of the builder within the General Properties panel of the ad unit. To view the General Properties, be sure that no layers are selected on your ad canvas. Your General Properties will then appear, and allow you to enter a Default Click URL. We have set this to www.adventive.com:

Saving and Previewing Your Ad
- Save your ad unit by holding Command + S (Mac) or Ctrl + S (PC) on your keyboard, or by navigating to the file menu and clicking "Save":

- Preview your unit by clicking the eyeball tool
 within the left side tools panel.